Chatwards WhatsApp Integration
Step by Step Guidance
-
Step 1: Sign in to chatwards and set up the bot.
- Login to chatwards with your valid credentials and click Create Bot button enter a bot name, description and hit Create & Train button.
-
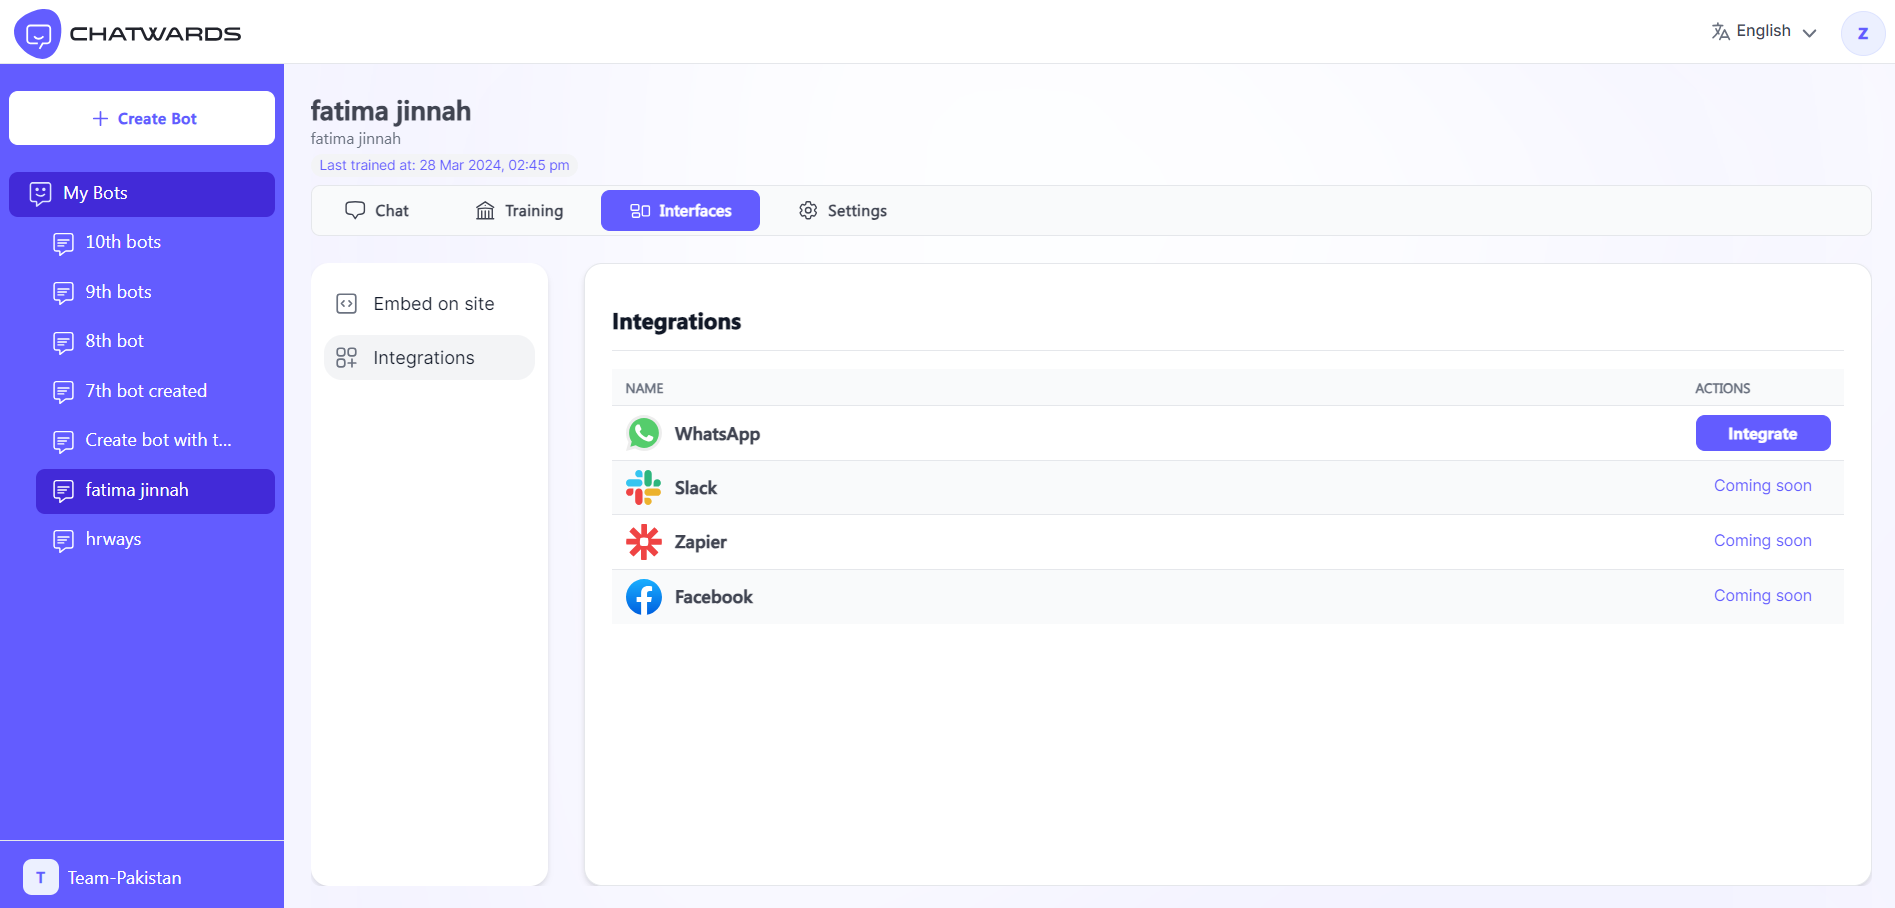
Step 2: Navigate to the Interfaces button.
- Navigate to Interfaces button, scroll down, click Integrations dropdown
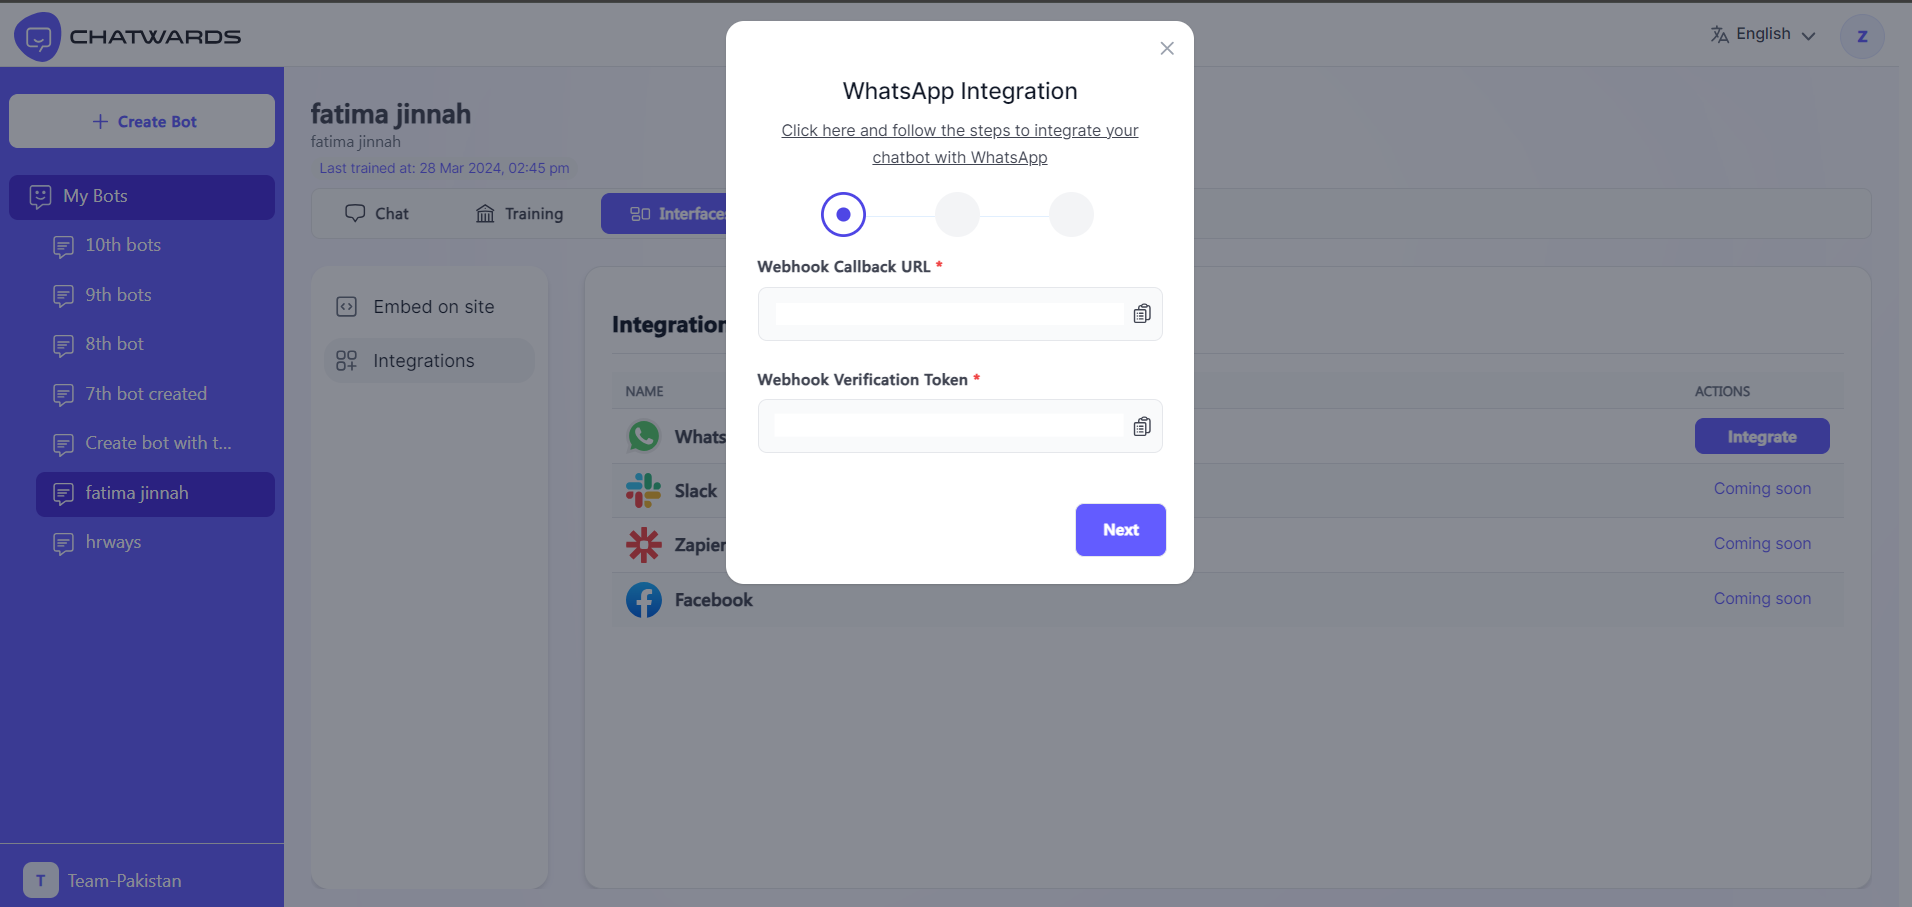
- Click whatsapp button
-
- Copy webhook callback URL and webhook verification token
-
-
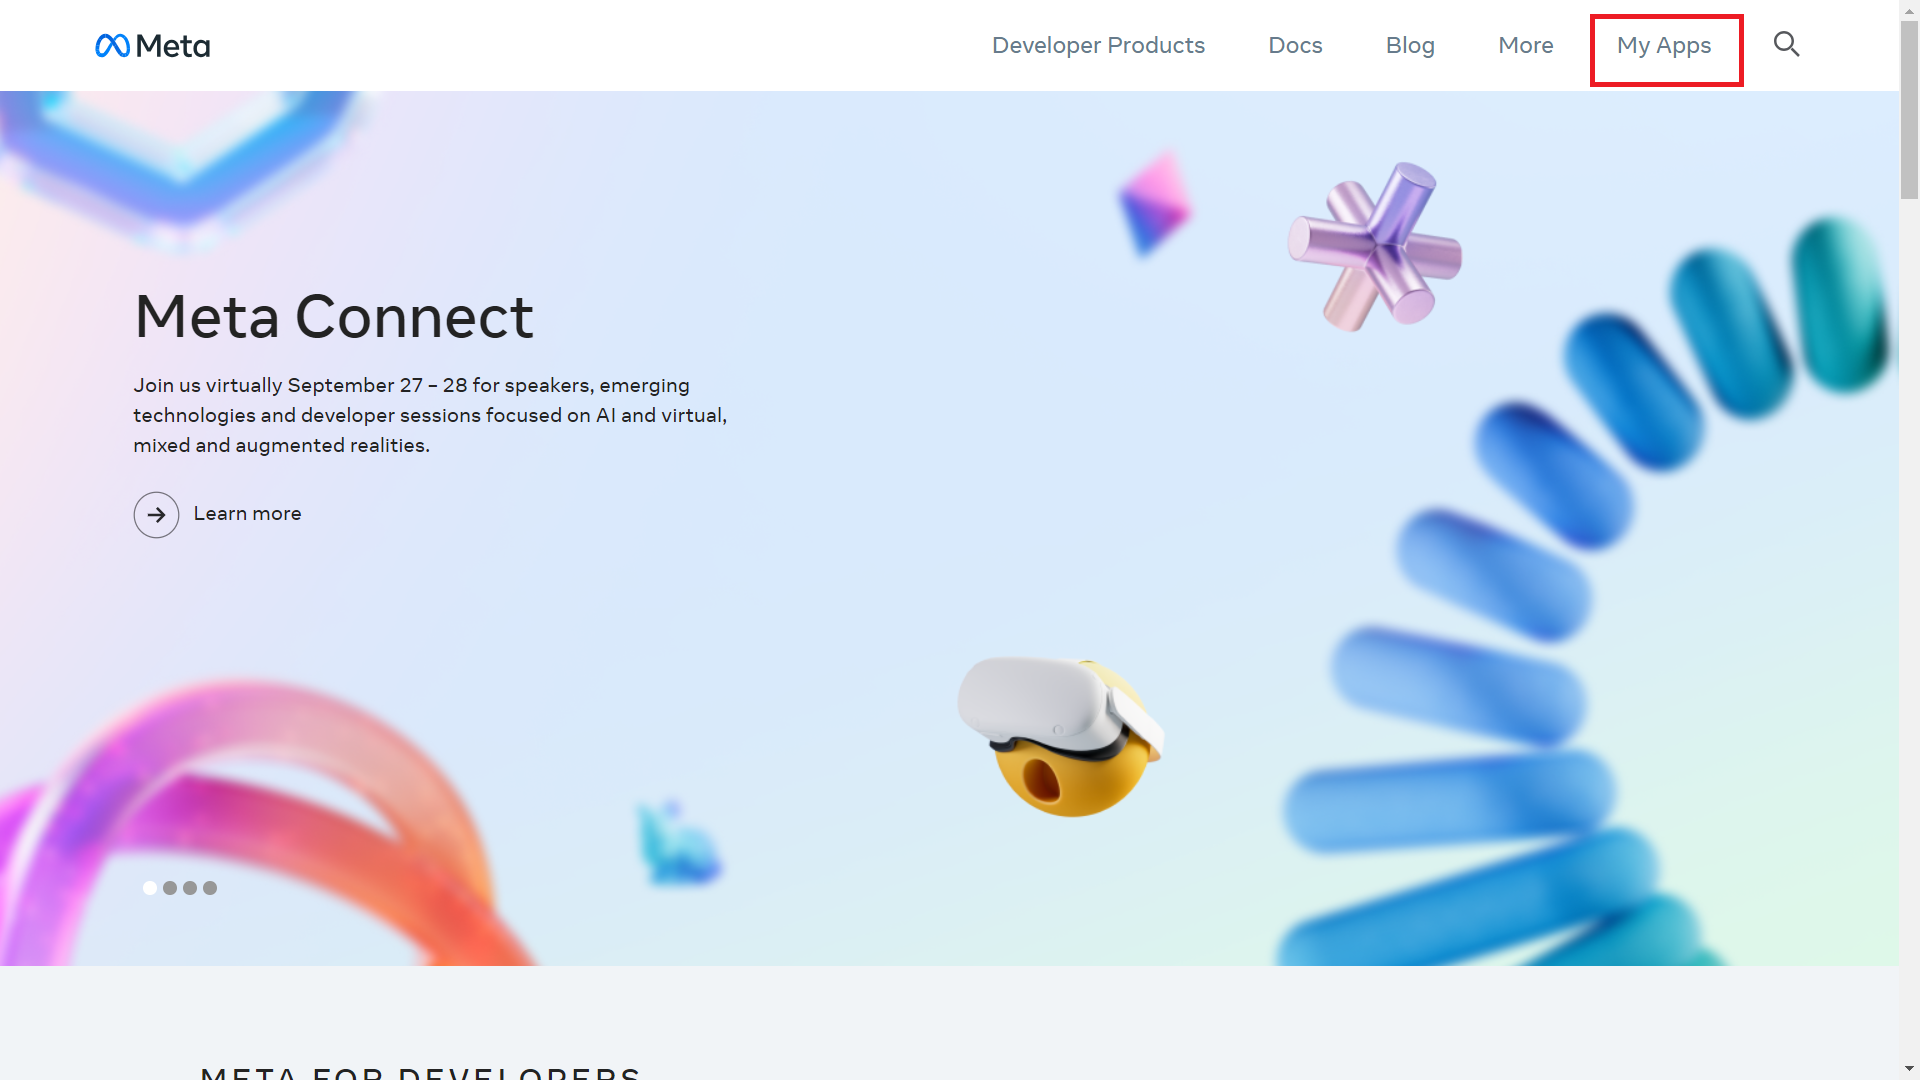
Step 3: Create a new Meta (Facebook) App at https://developers.facebook.com/
- Login with your credentials
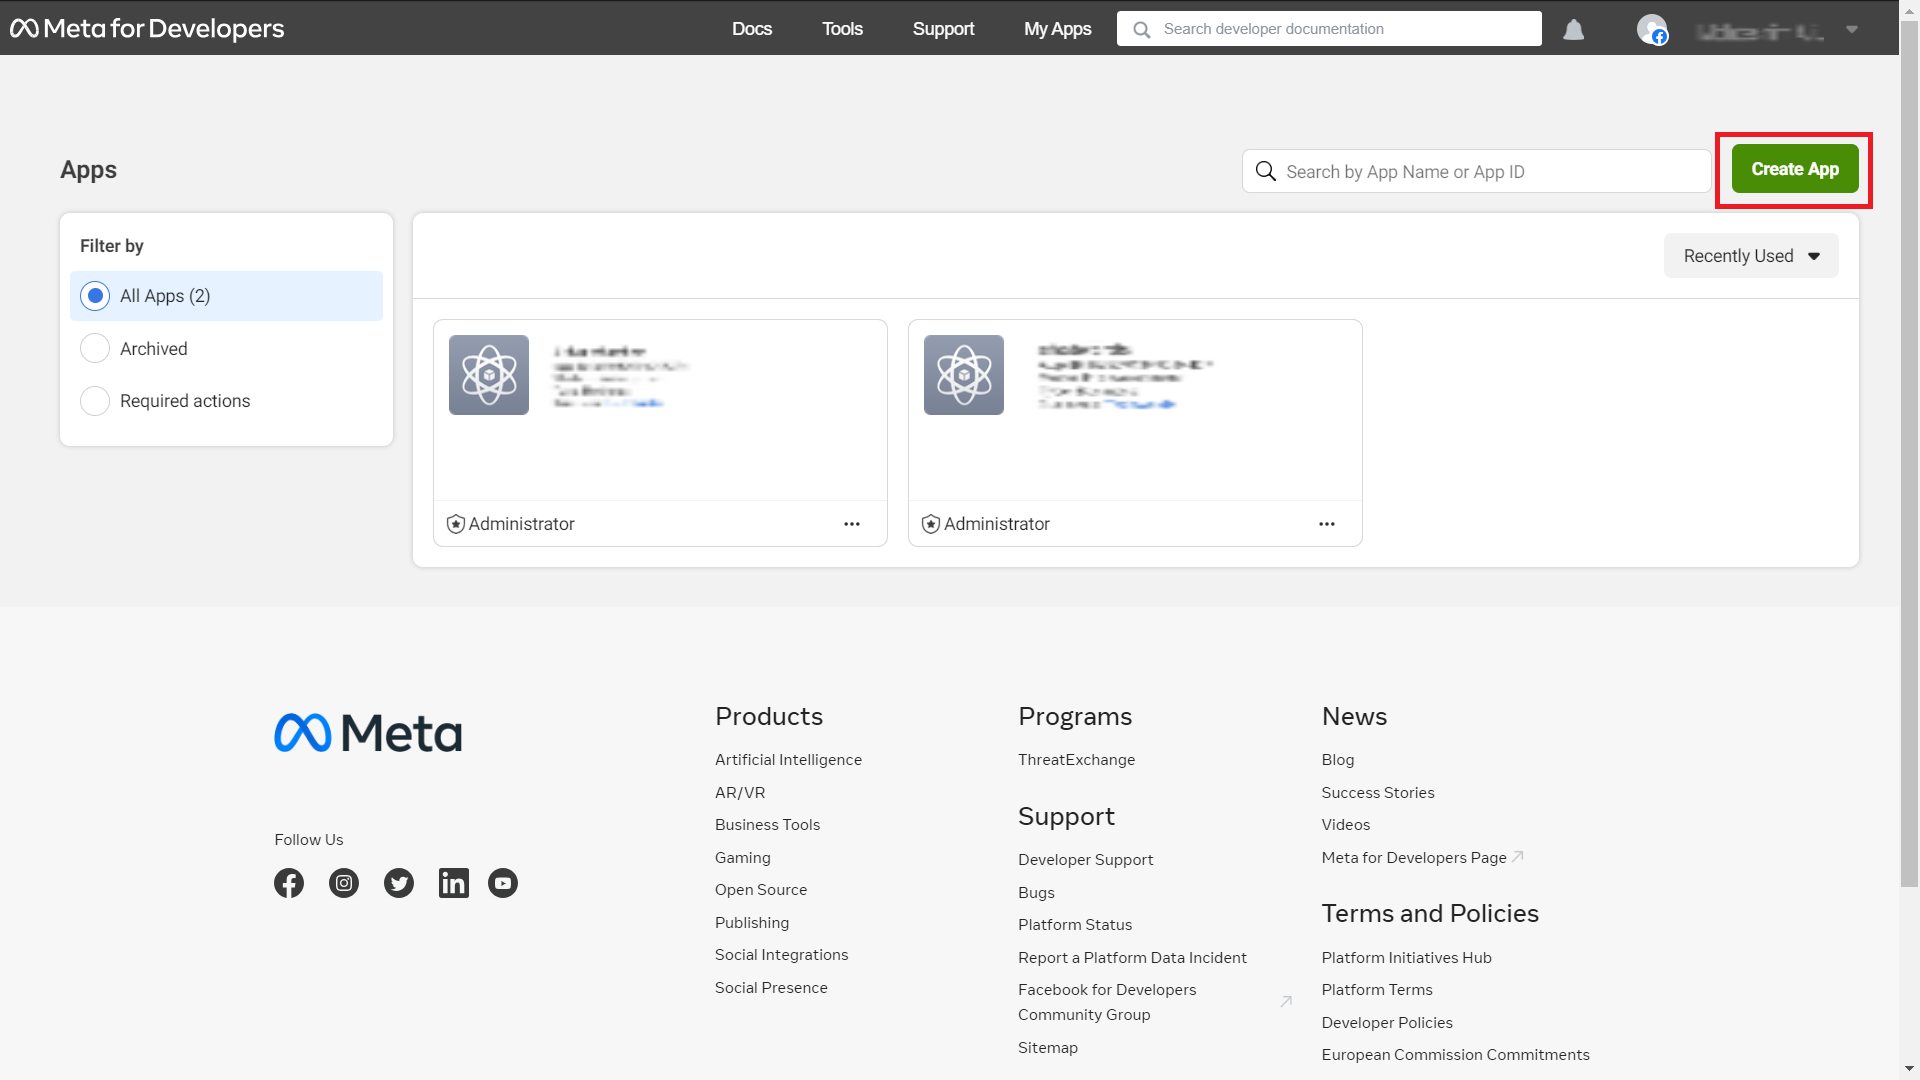
- Select My Apps button
-
- Select Create App button
-
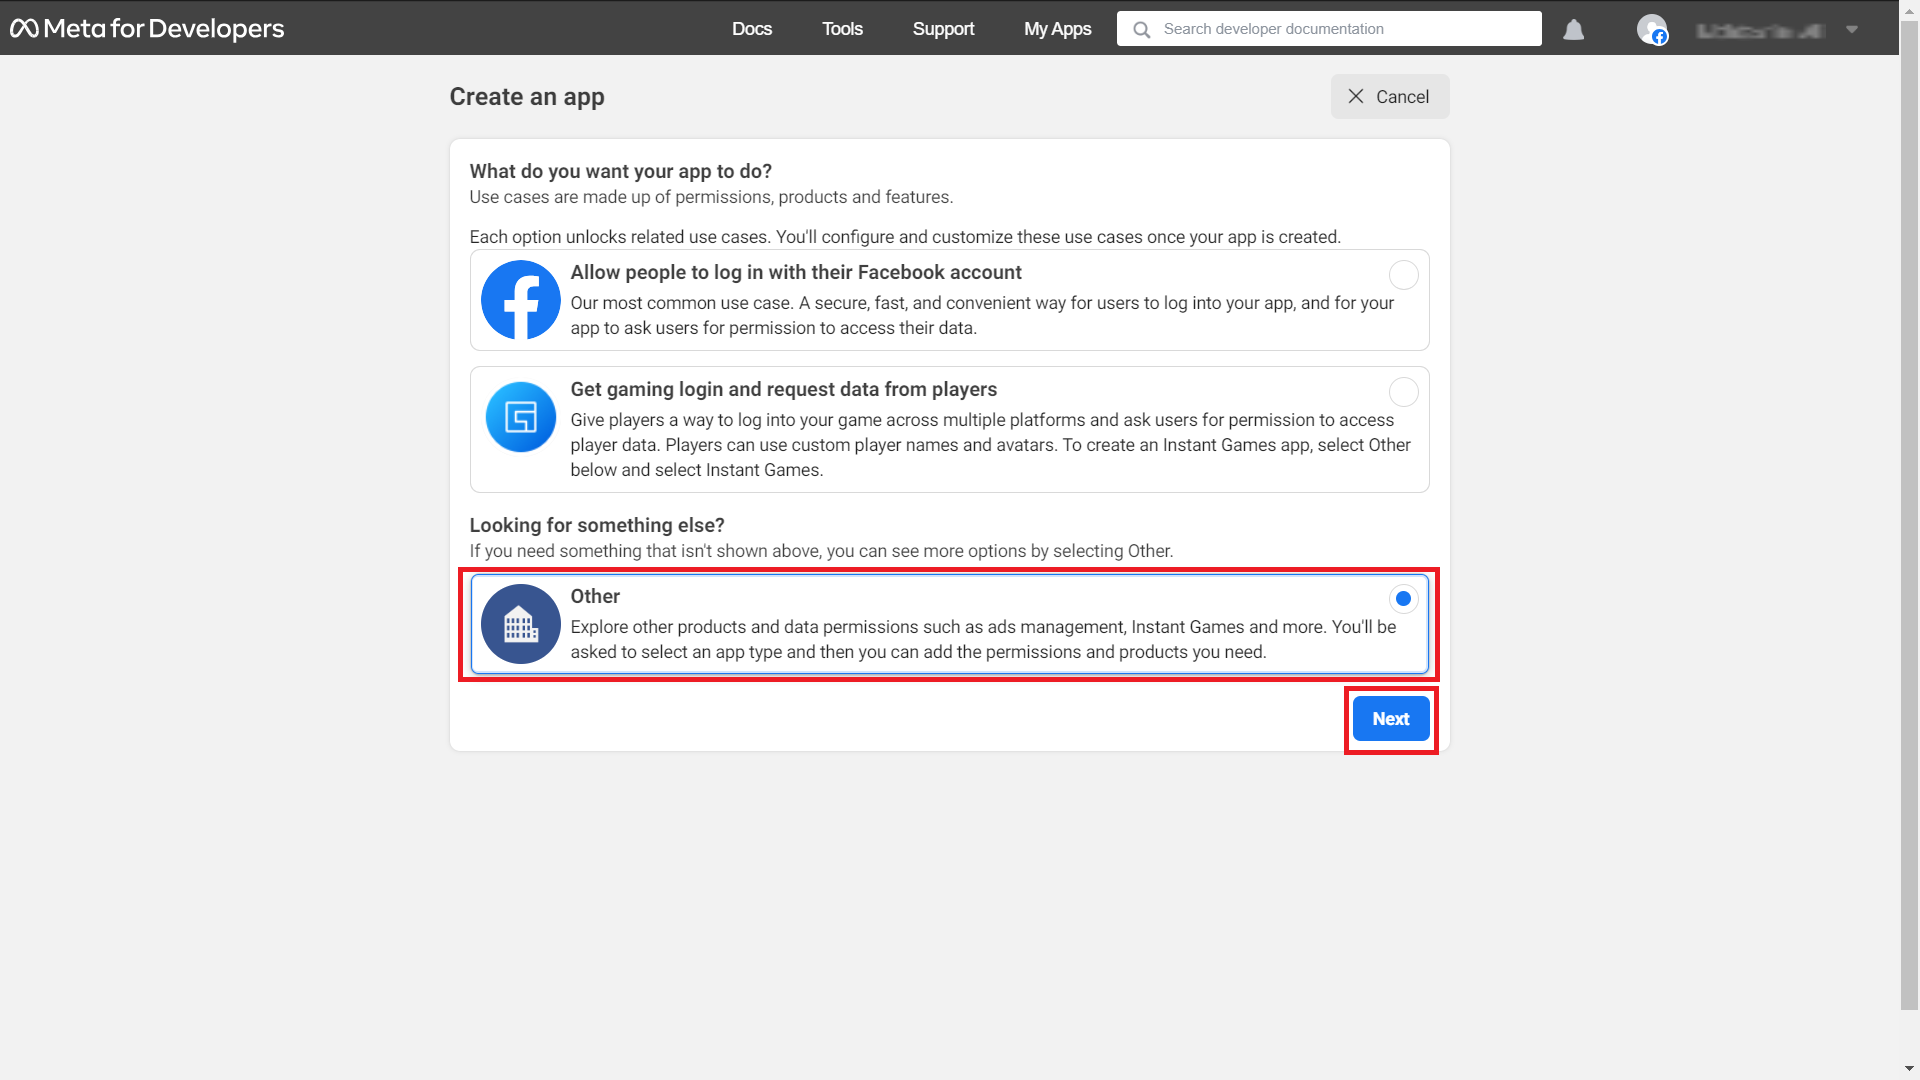
- Choose User Case: Other and App Type: Business.
-
-

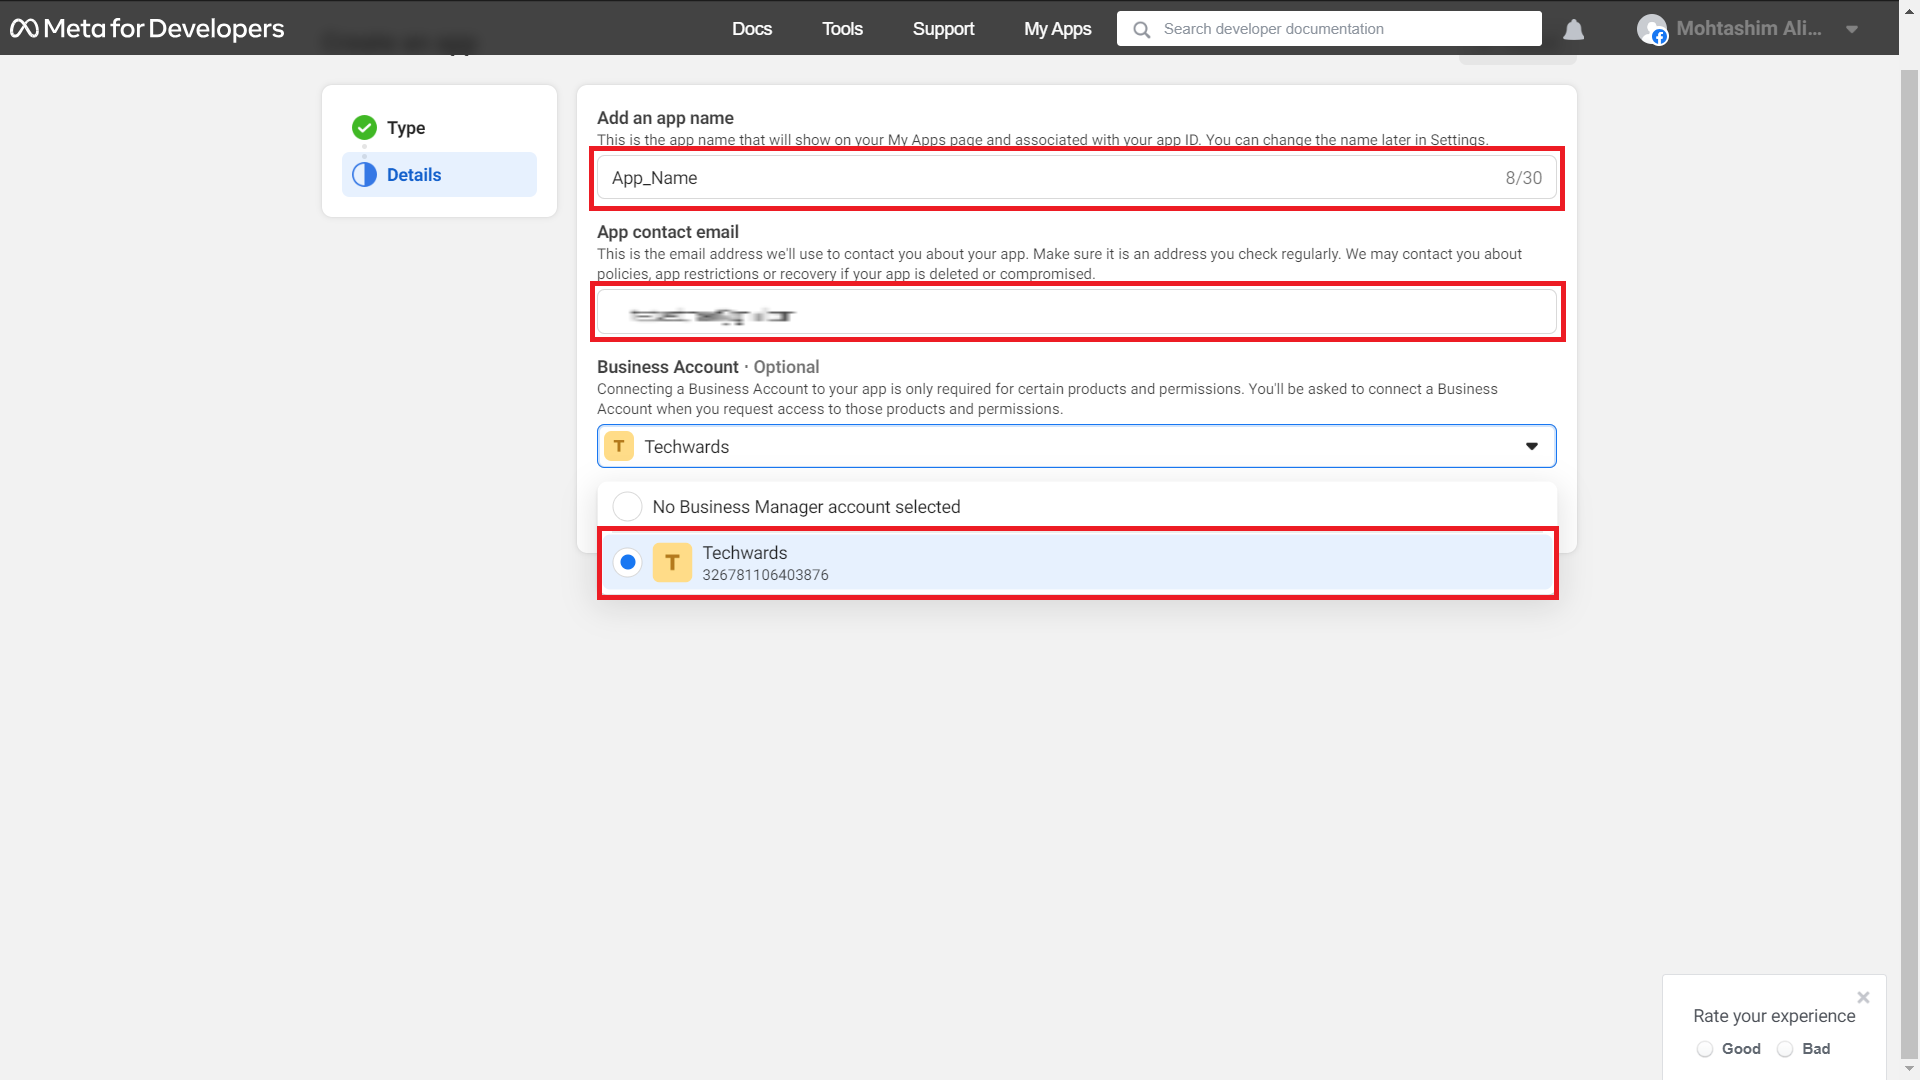
- Enter app name and click create app button.
-
-
Step 4: Setup Meta (Facebook) App for WhatsApp Integration
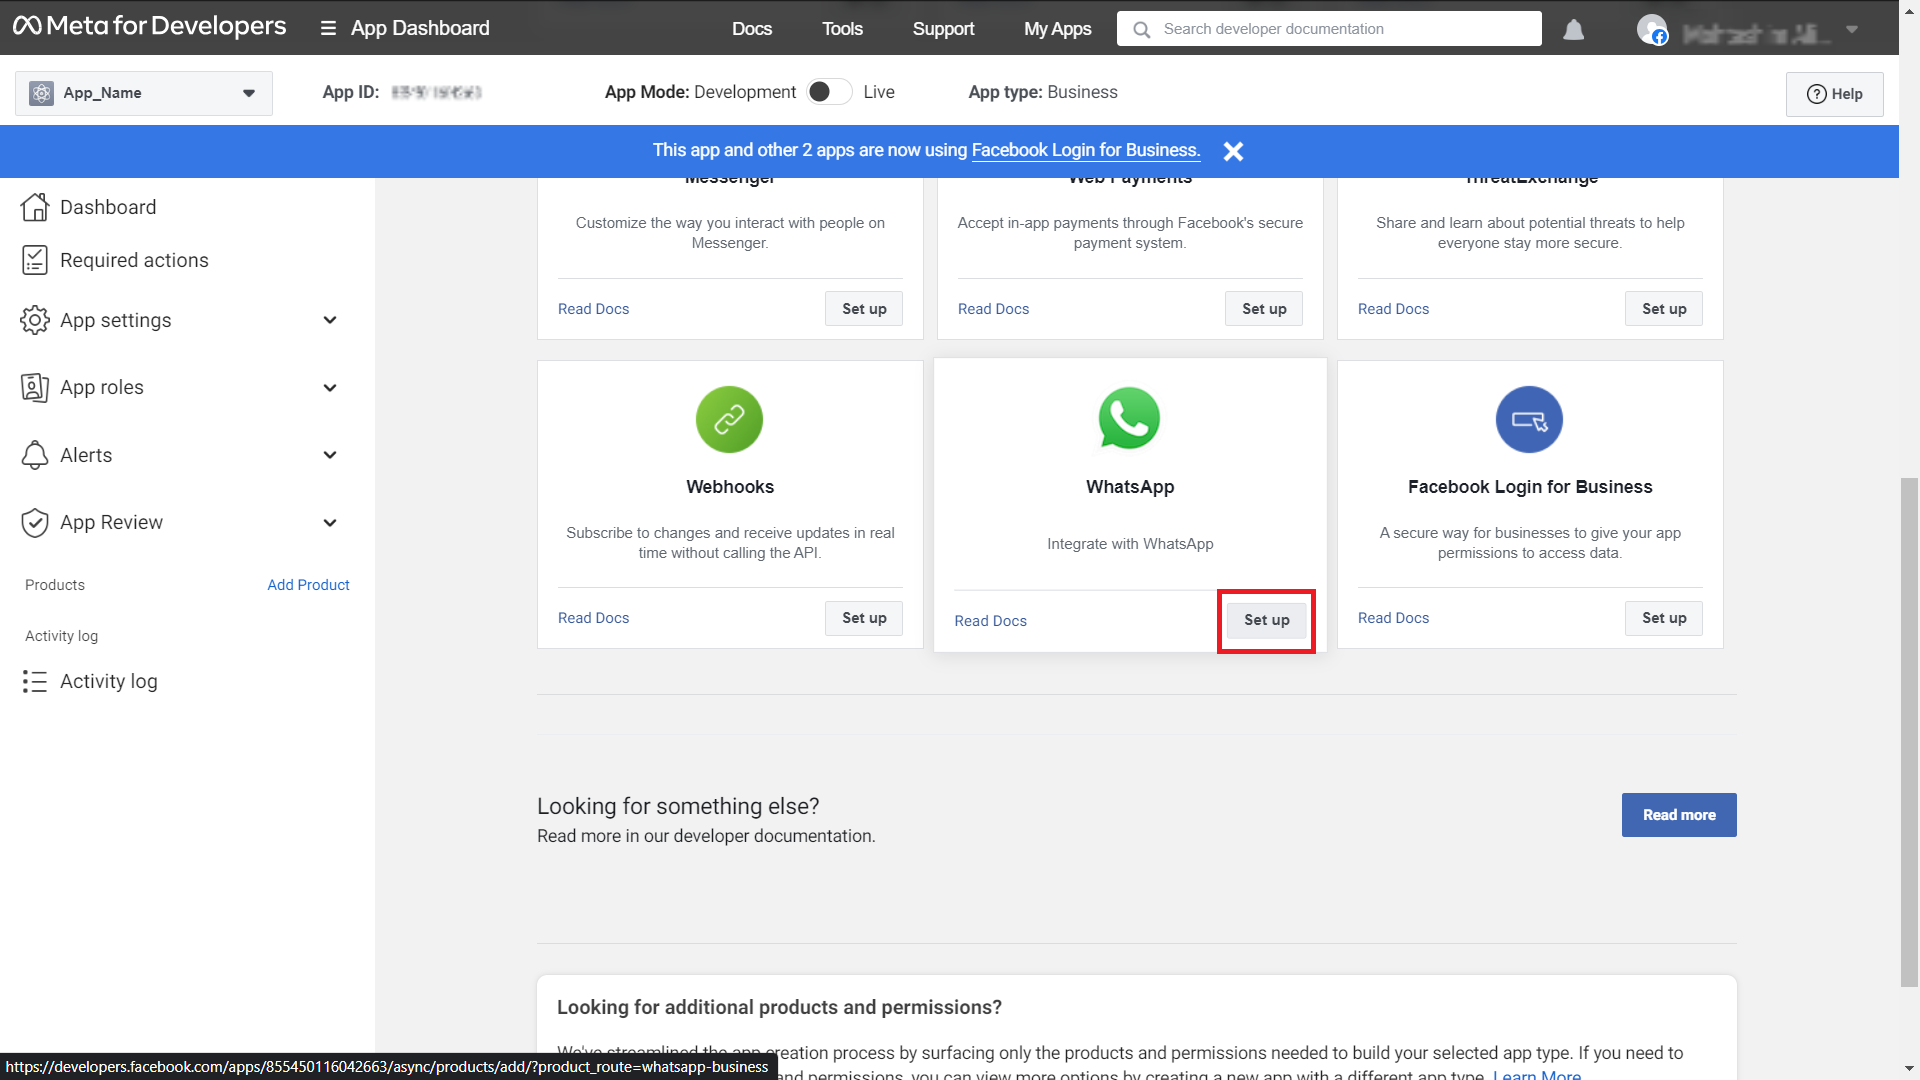
- Scroll down to whatsapp card, select WhatsApp set up button.
-
- Select your Meta (Facebook) Business Account and click continue
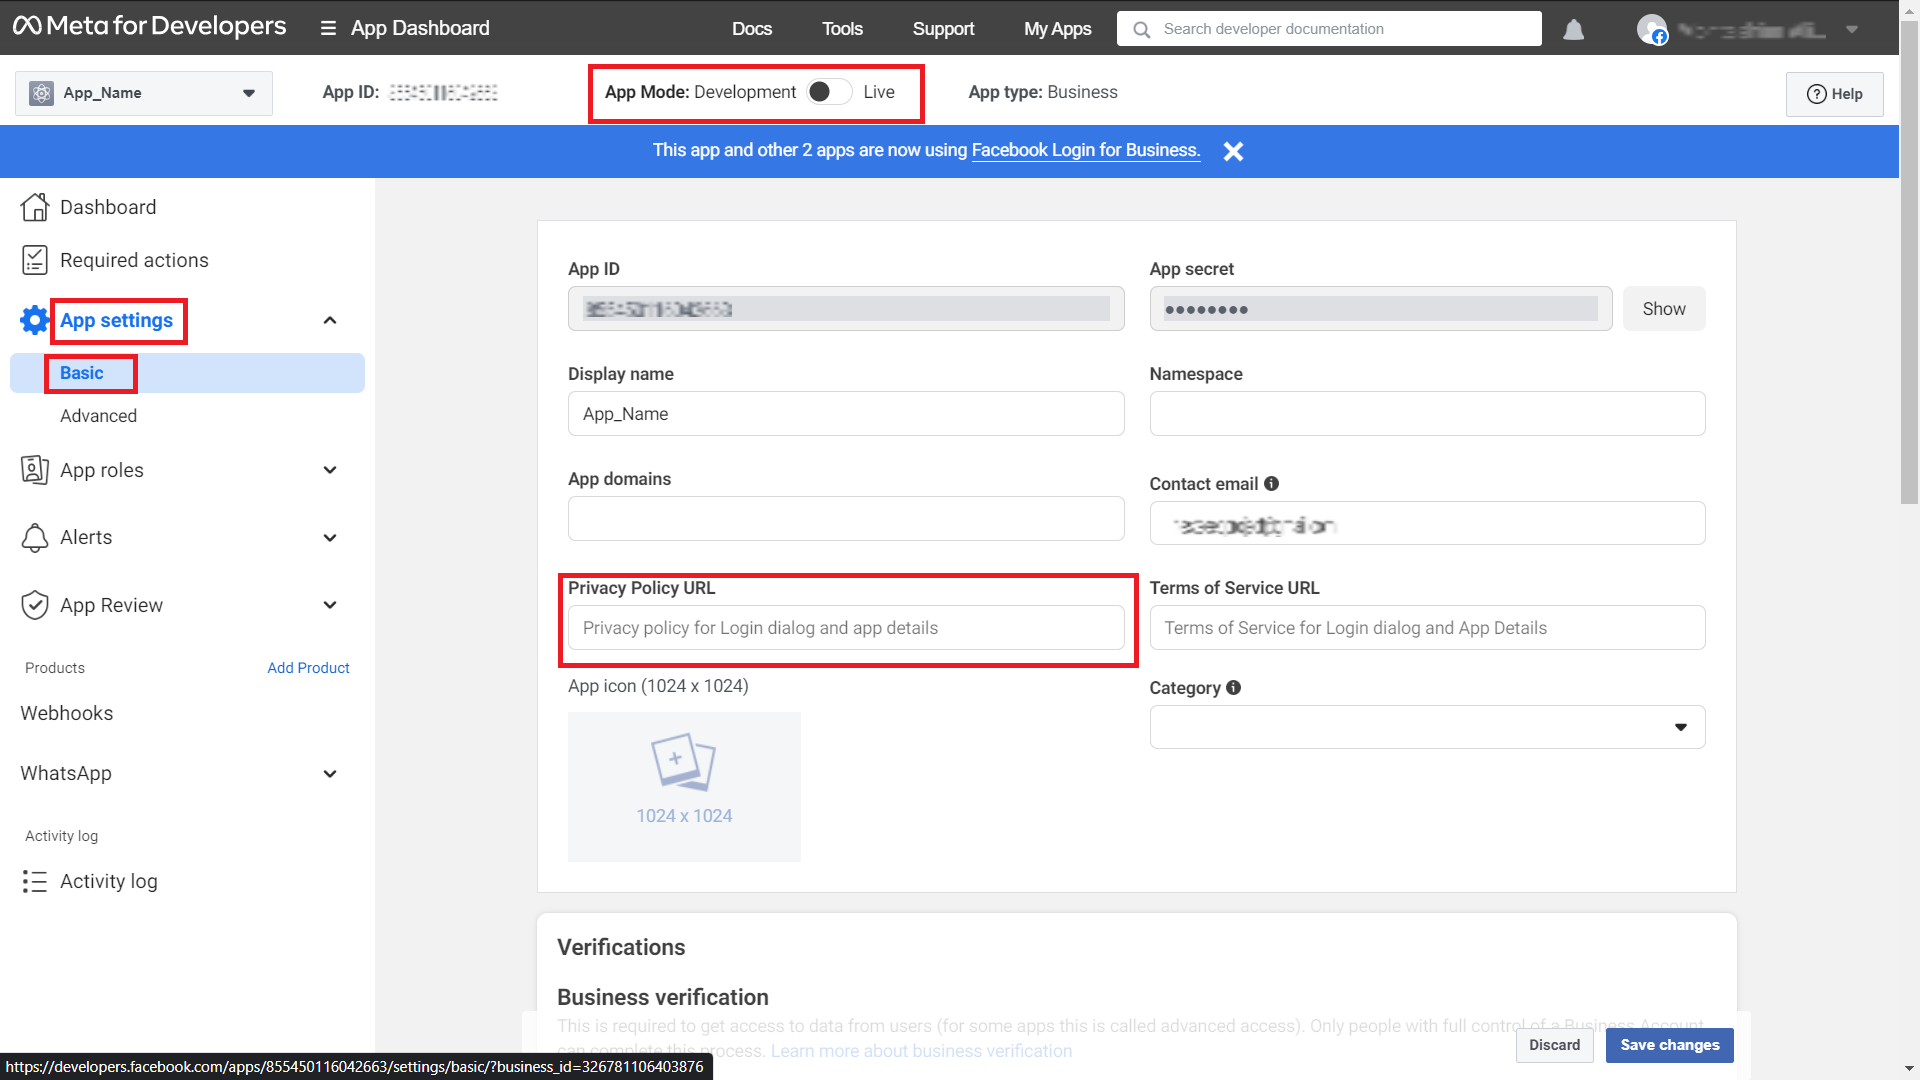
- Navigate to App Settings > Basic buttons.
- Set your Application Privacy Policy URL in URL text field.
- Select App Mode switch to Live.
-
-
Step 5: Establish a “System User” for Acquiring a Long-Term WhatsApp Access Token.
- Go to the Meta Business Suite https://business.facebook.com/.
- Go to your business account by selecting it from the dropdown menu, and then click on its Settings (gear) icon.
-
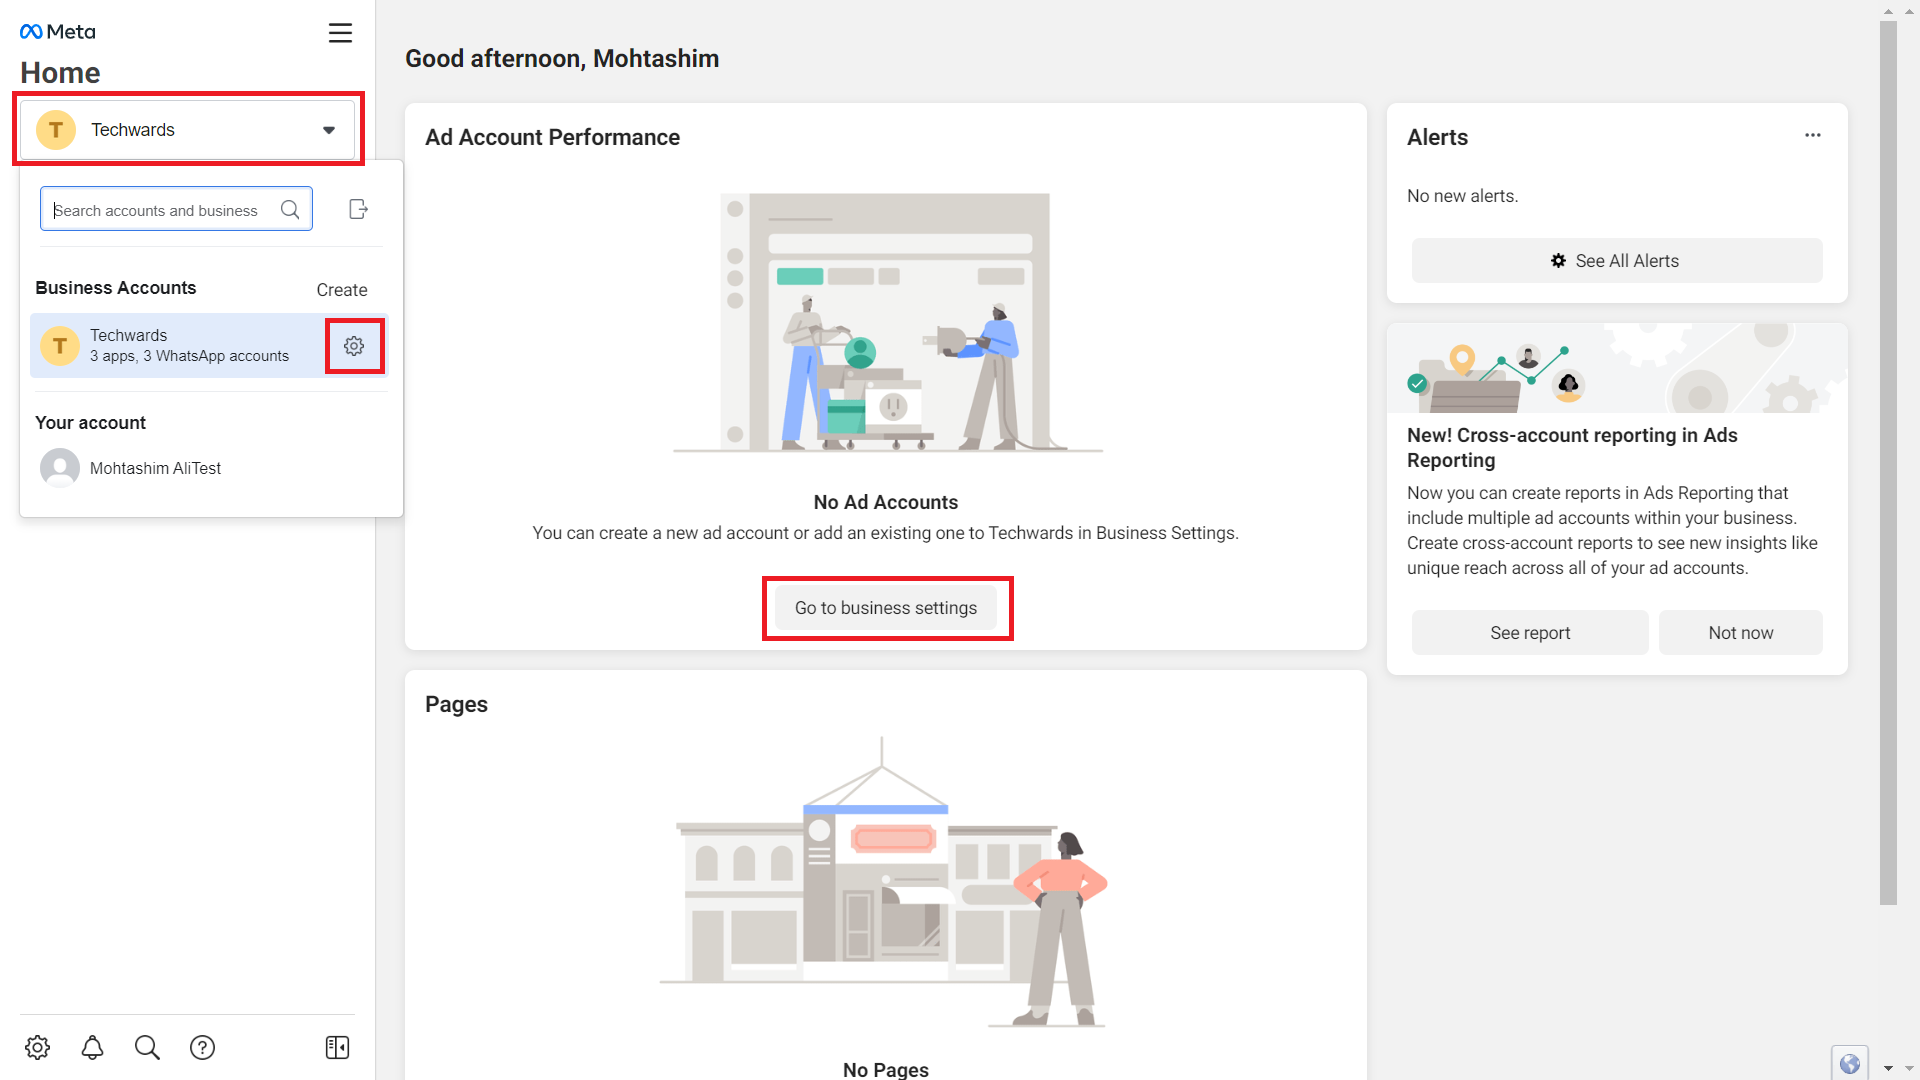
- Click Business Settings button.
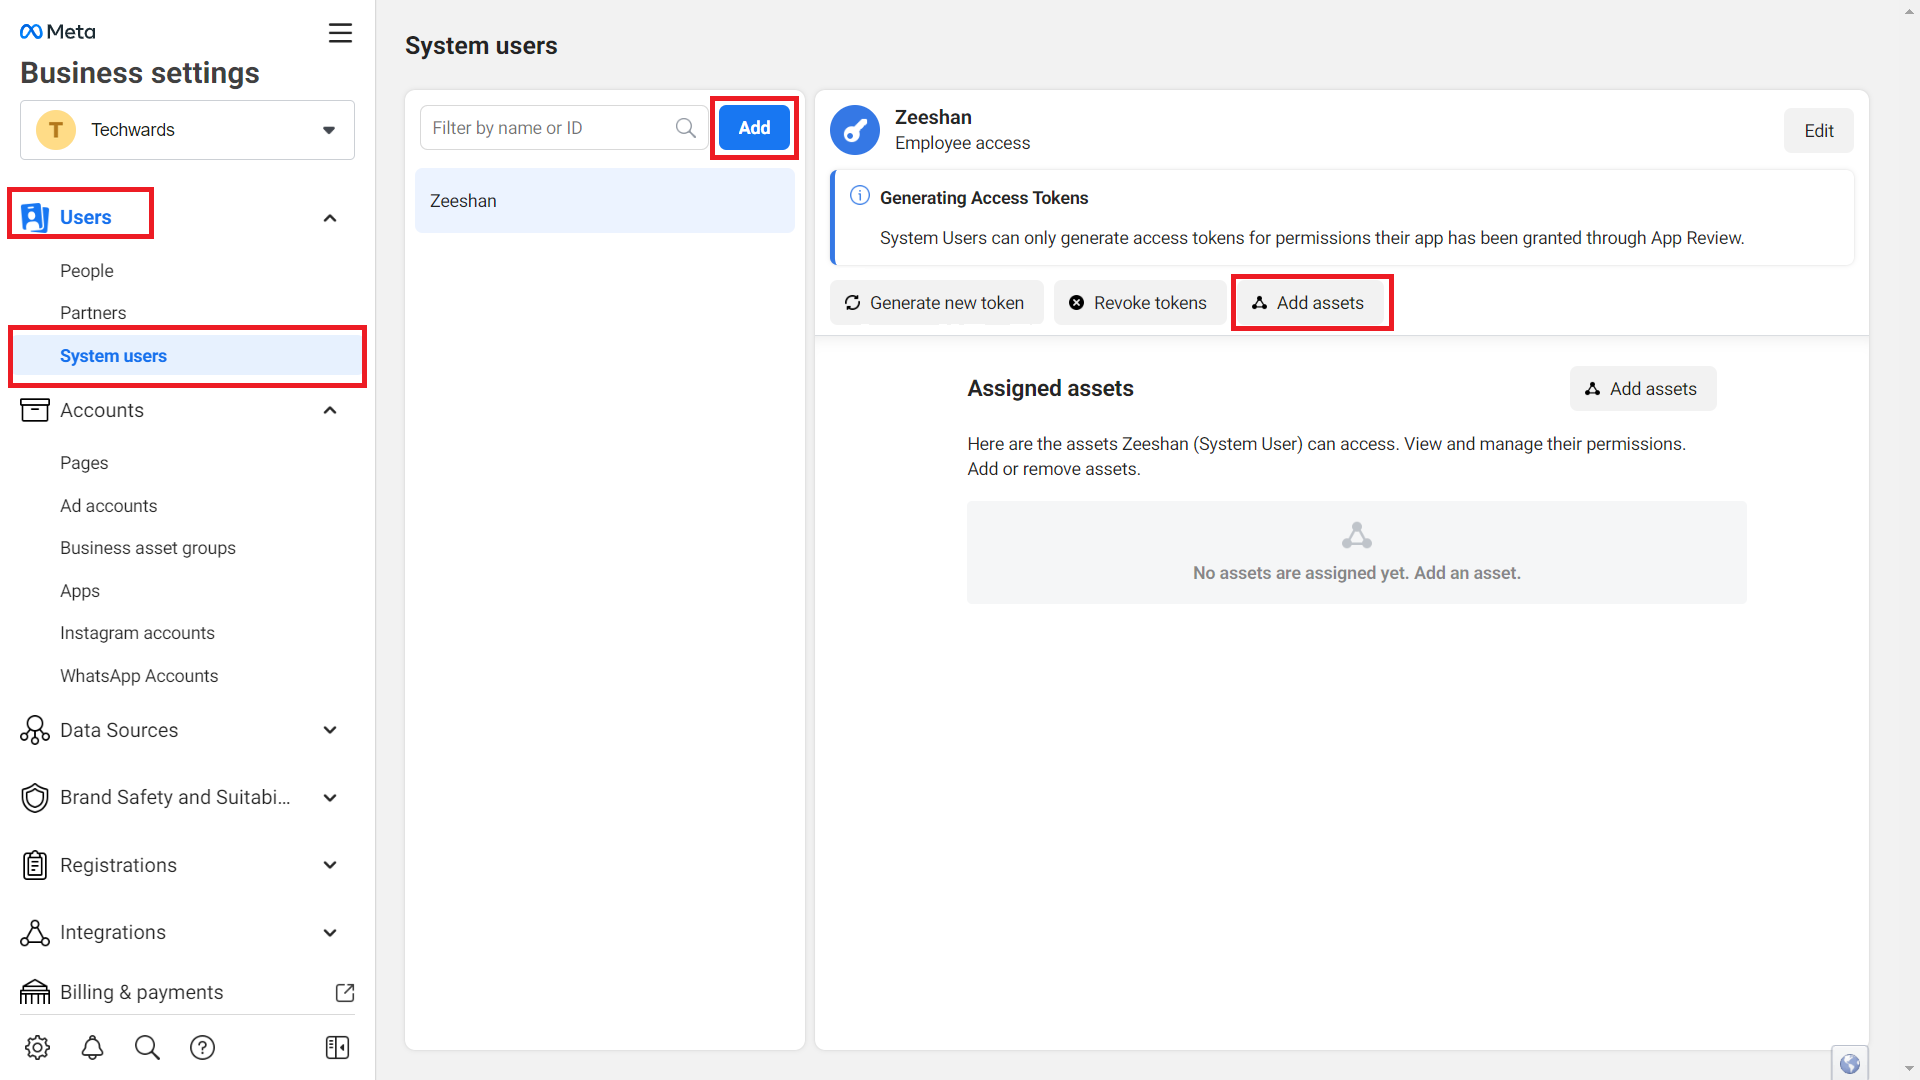
- Go to Users > System users buttons.
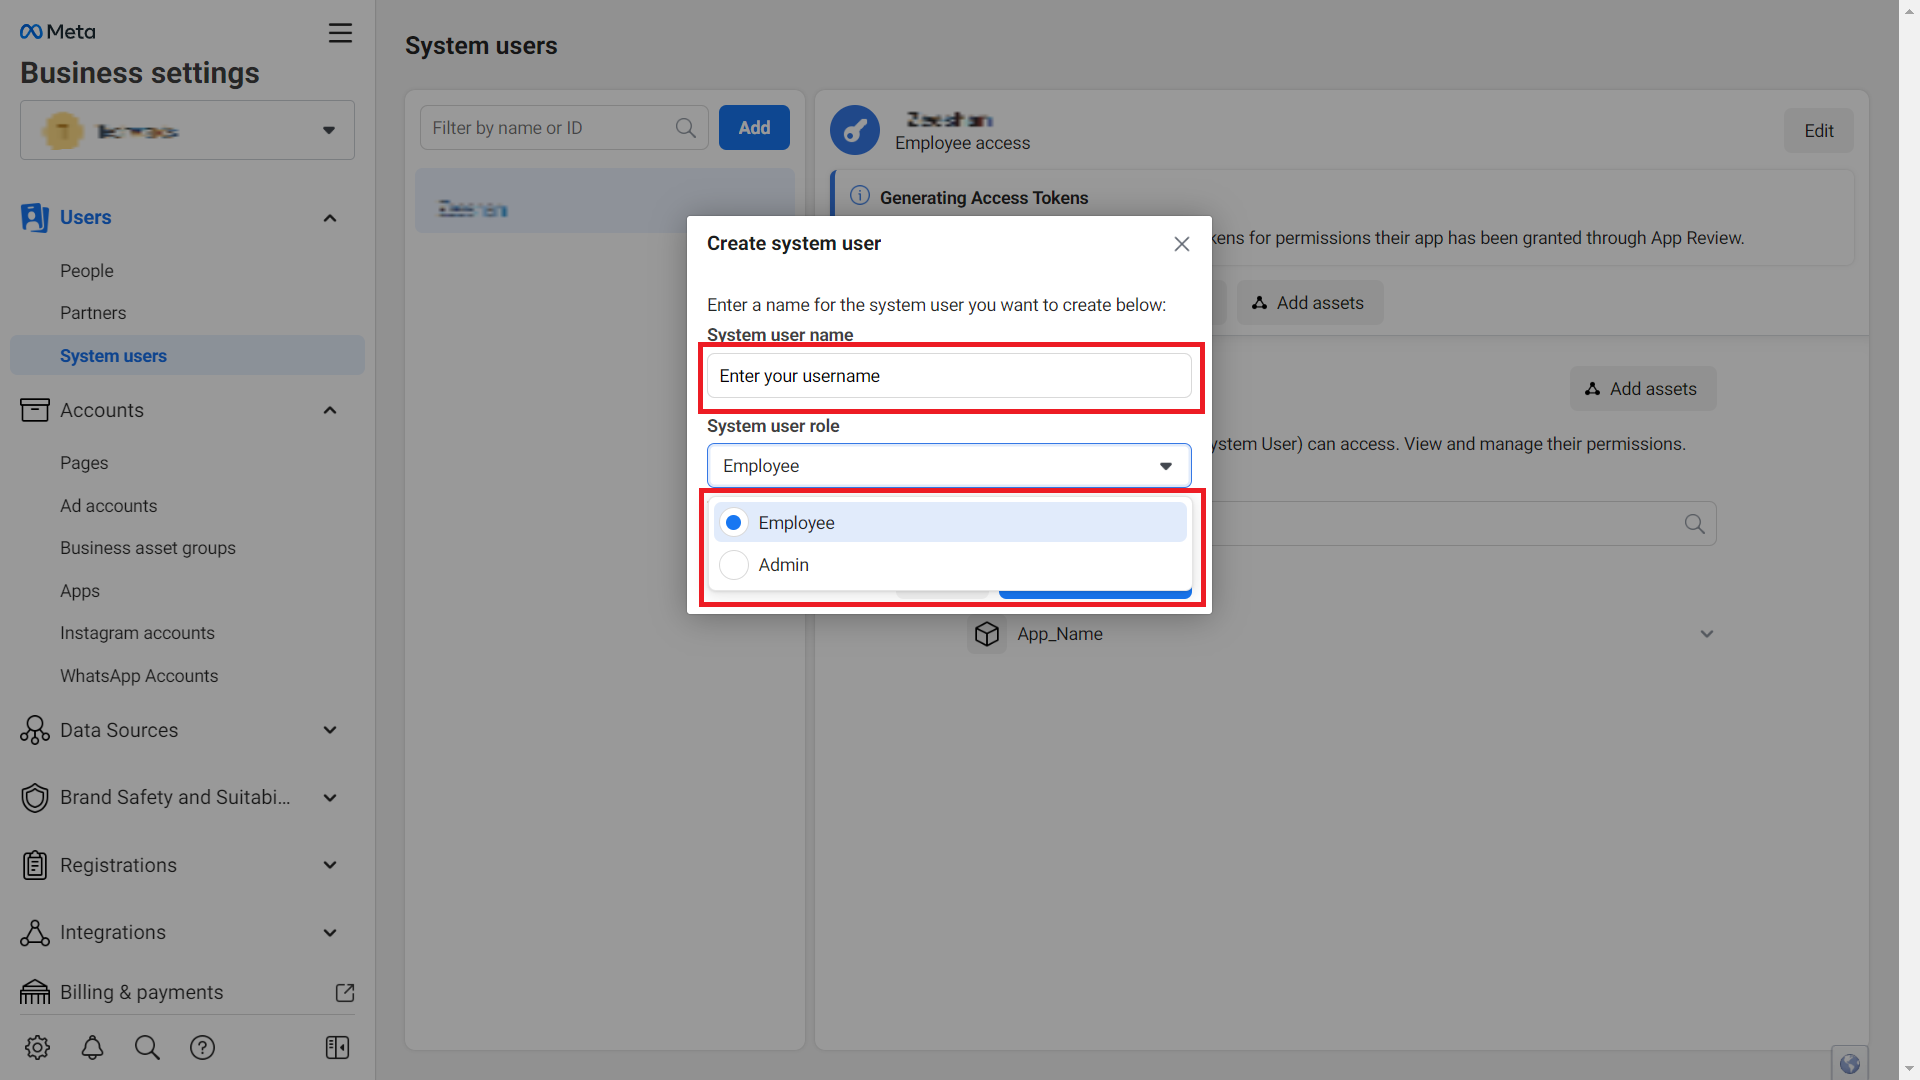
- Add an Admin system user.
- After creating the system user, click Add Assets.
-
- Navigate to Apps > Your app name.
- Select your app and grant full control to manage the app and save.
-
-
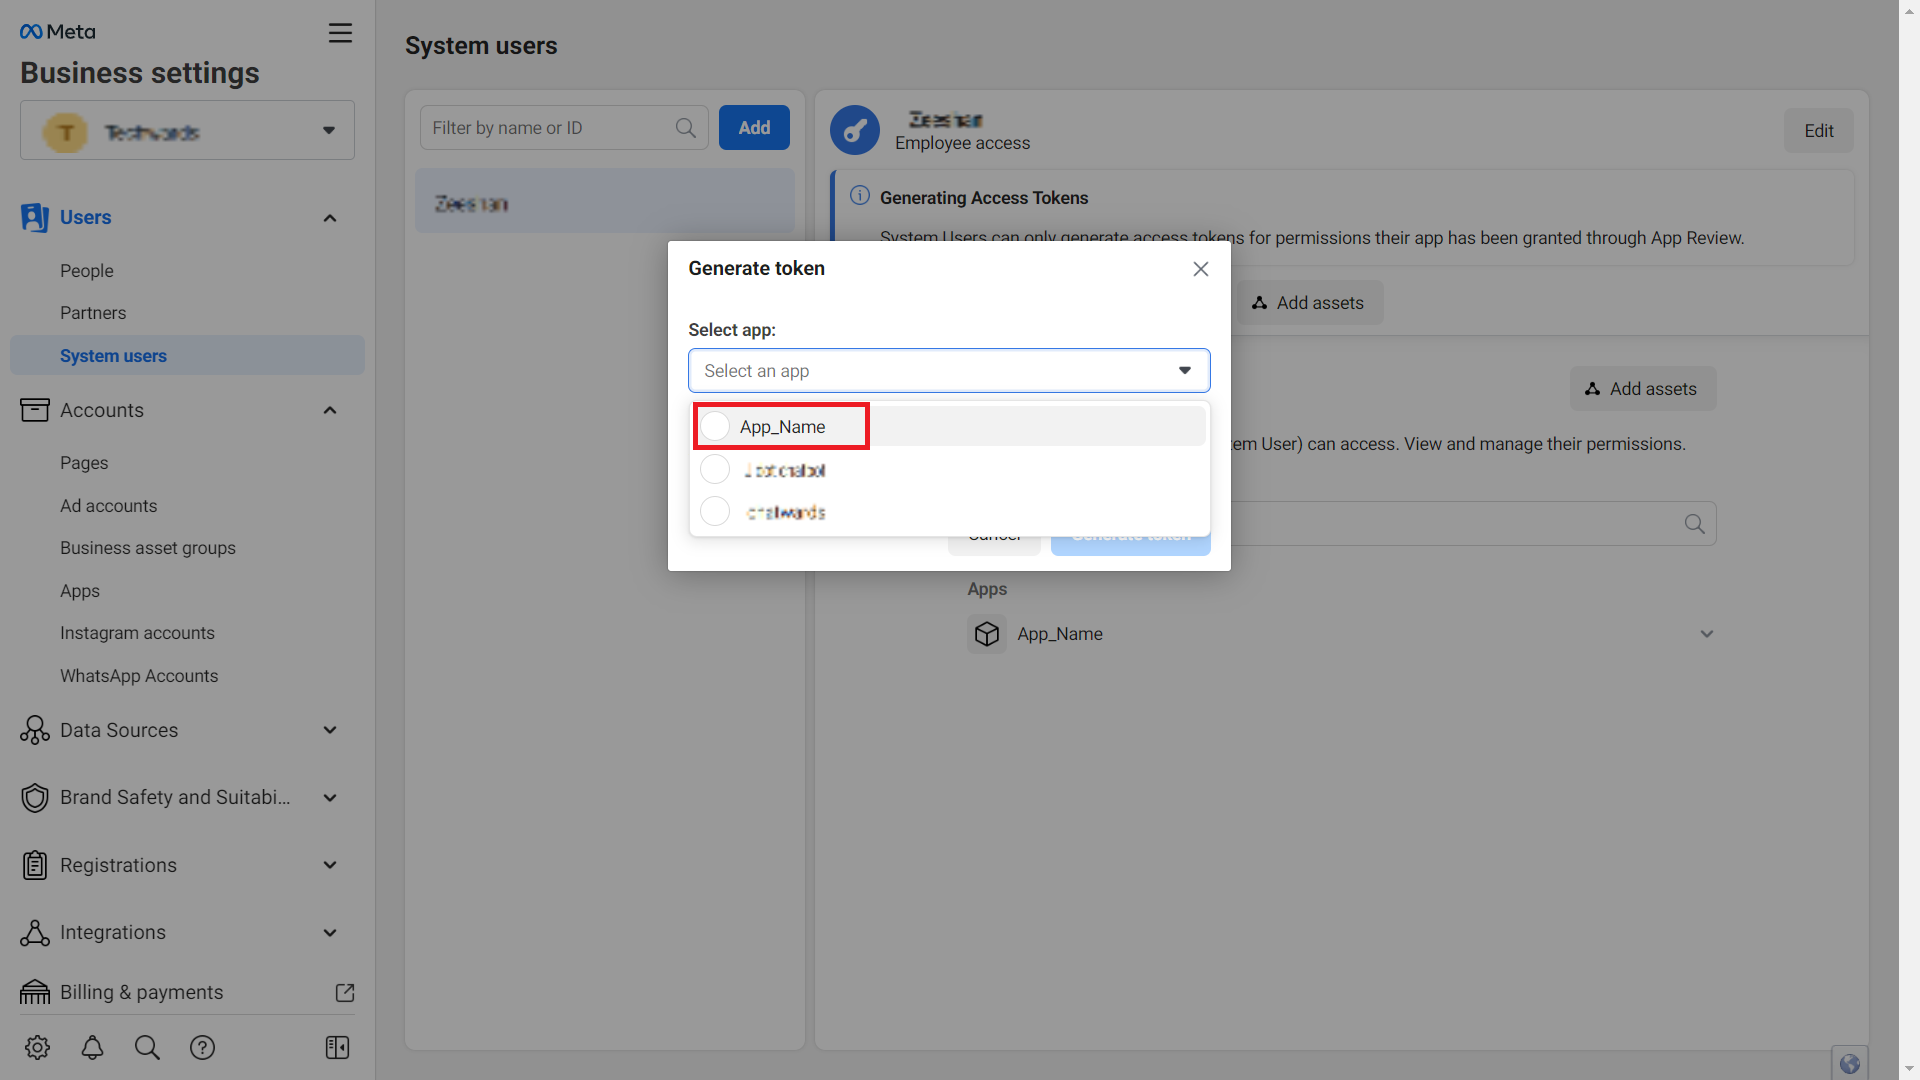
Step 6: Creating System User Access Tokens.
- Click the Generate New Token button on the system user.
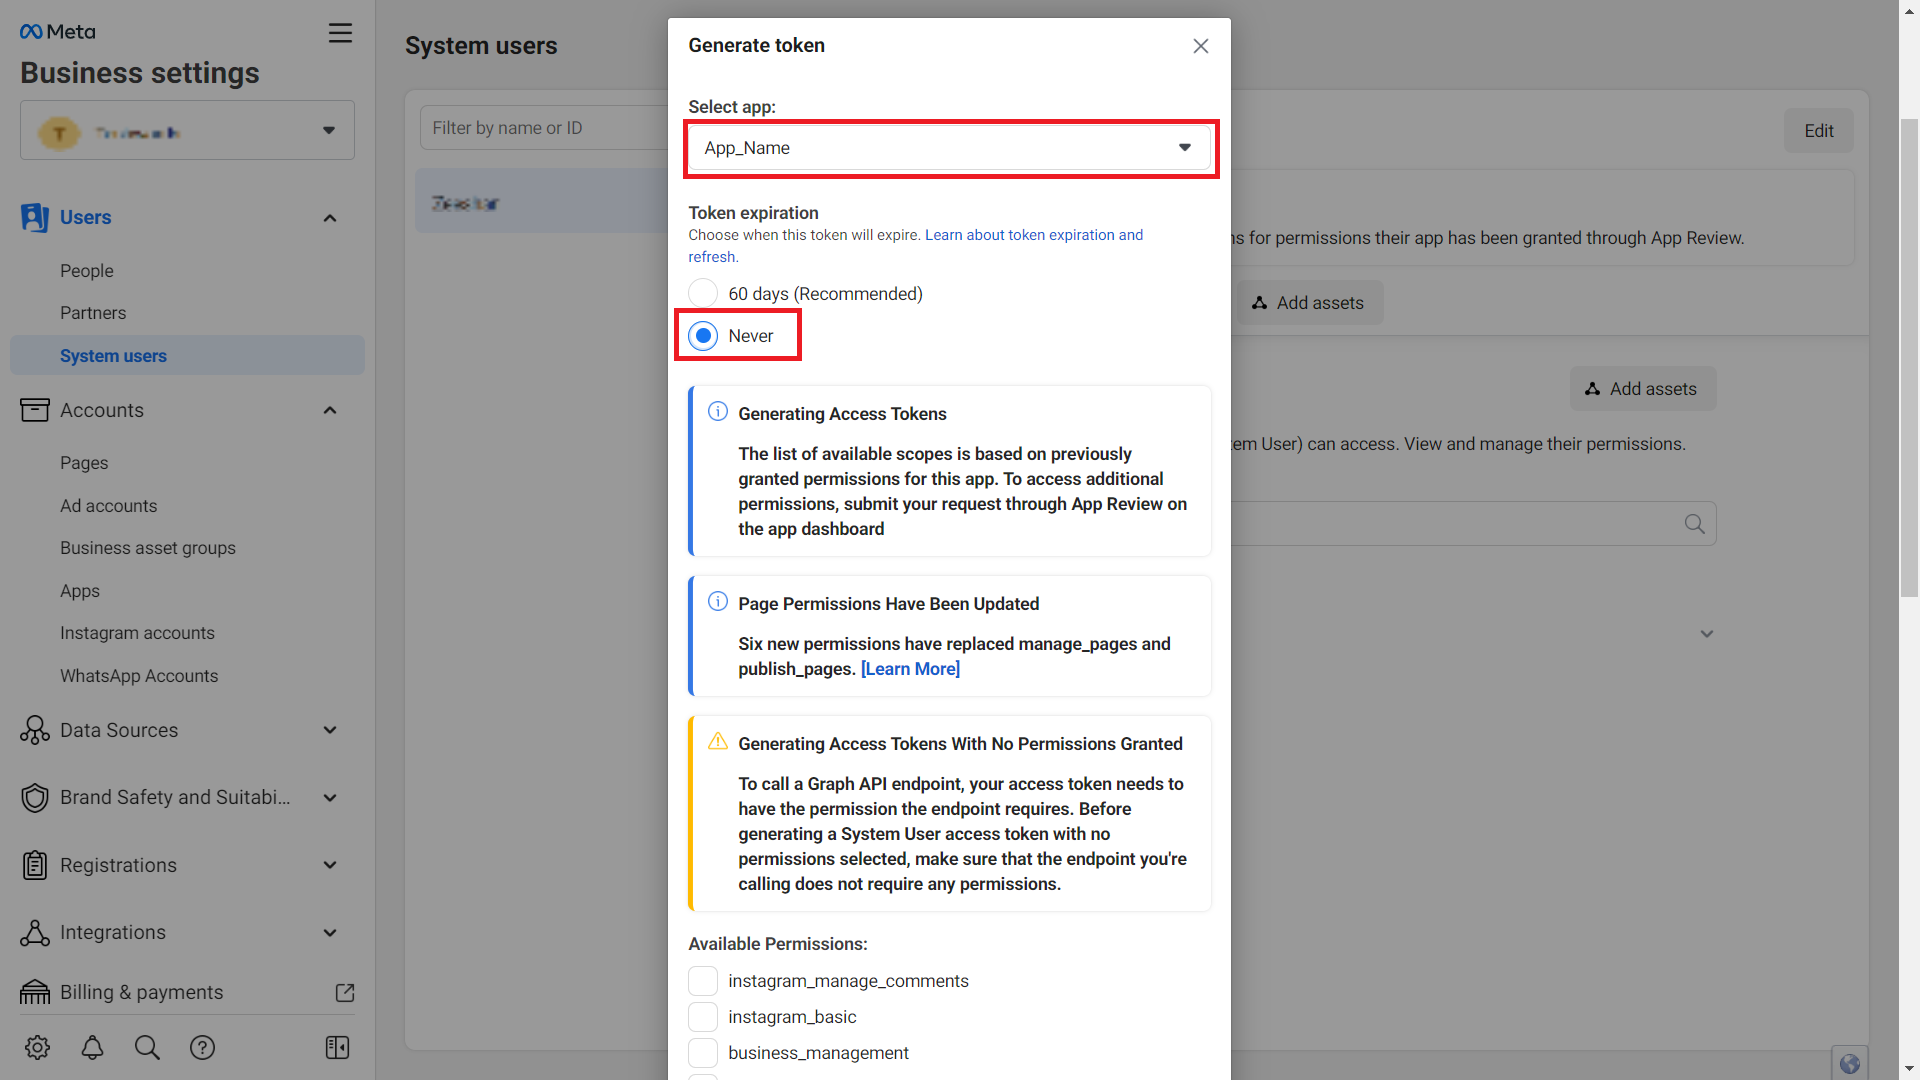
- Select the App that will utilise the token and configure the token expiration as never.
-
-
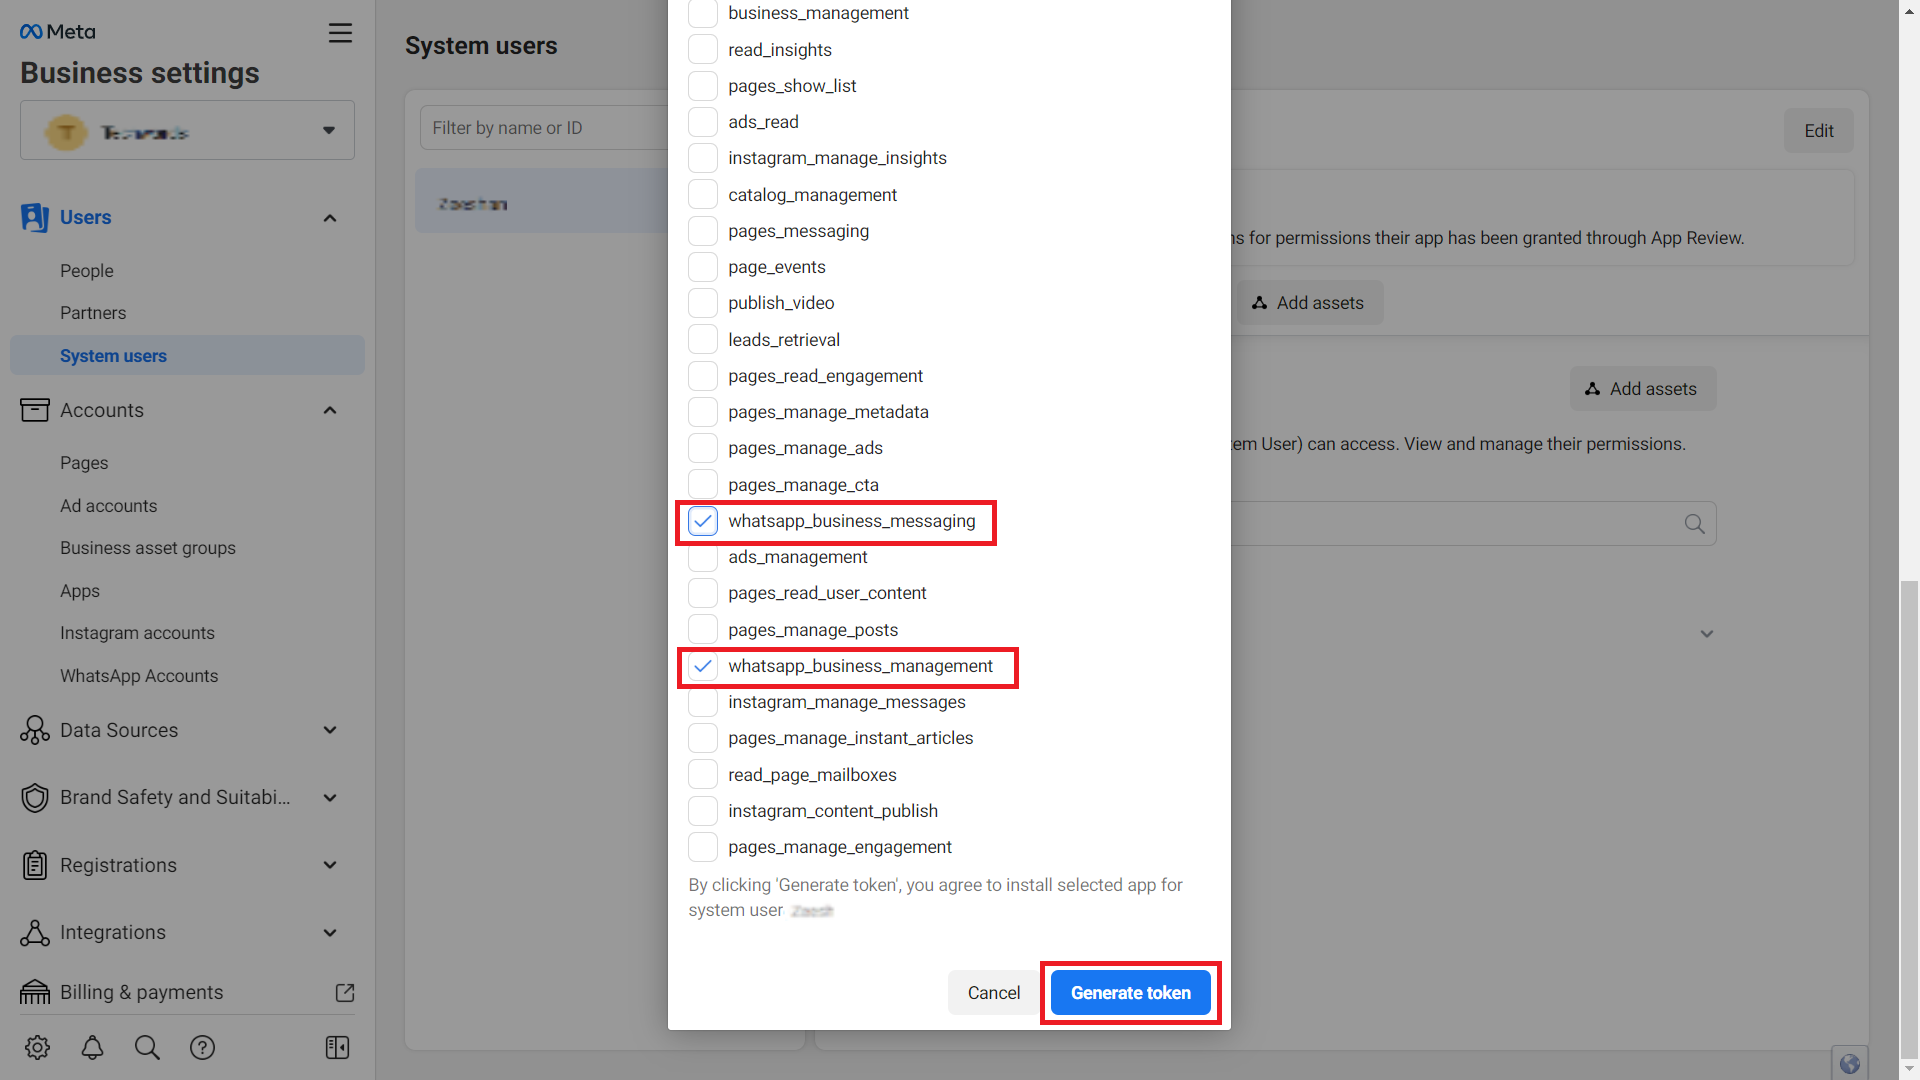
- Select whatsapp_business_messaging and whatsapp_business_management permissions and create the token.
-
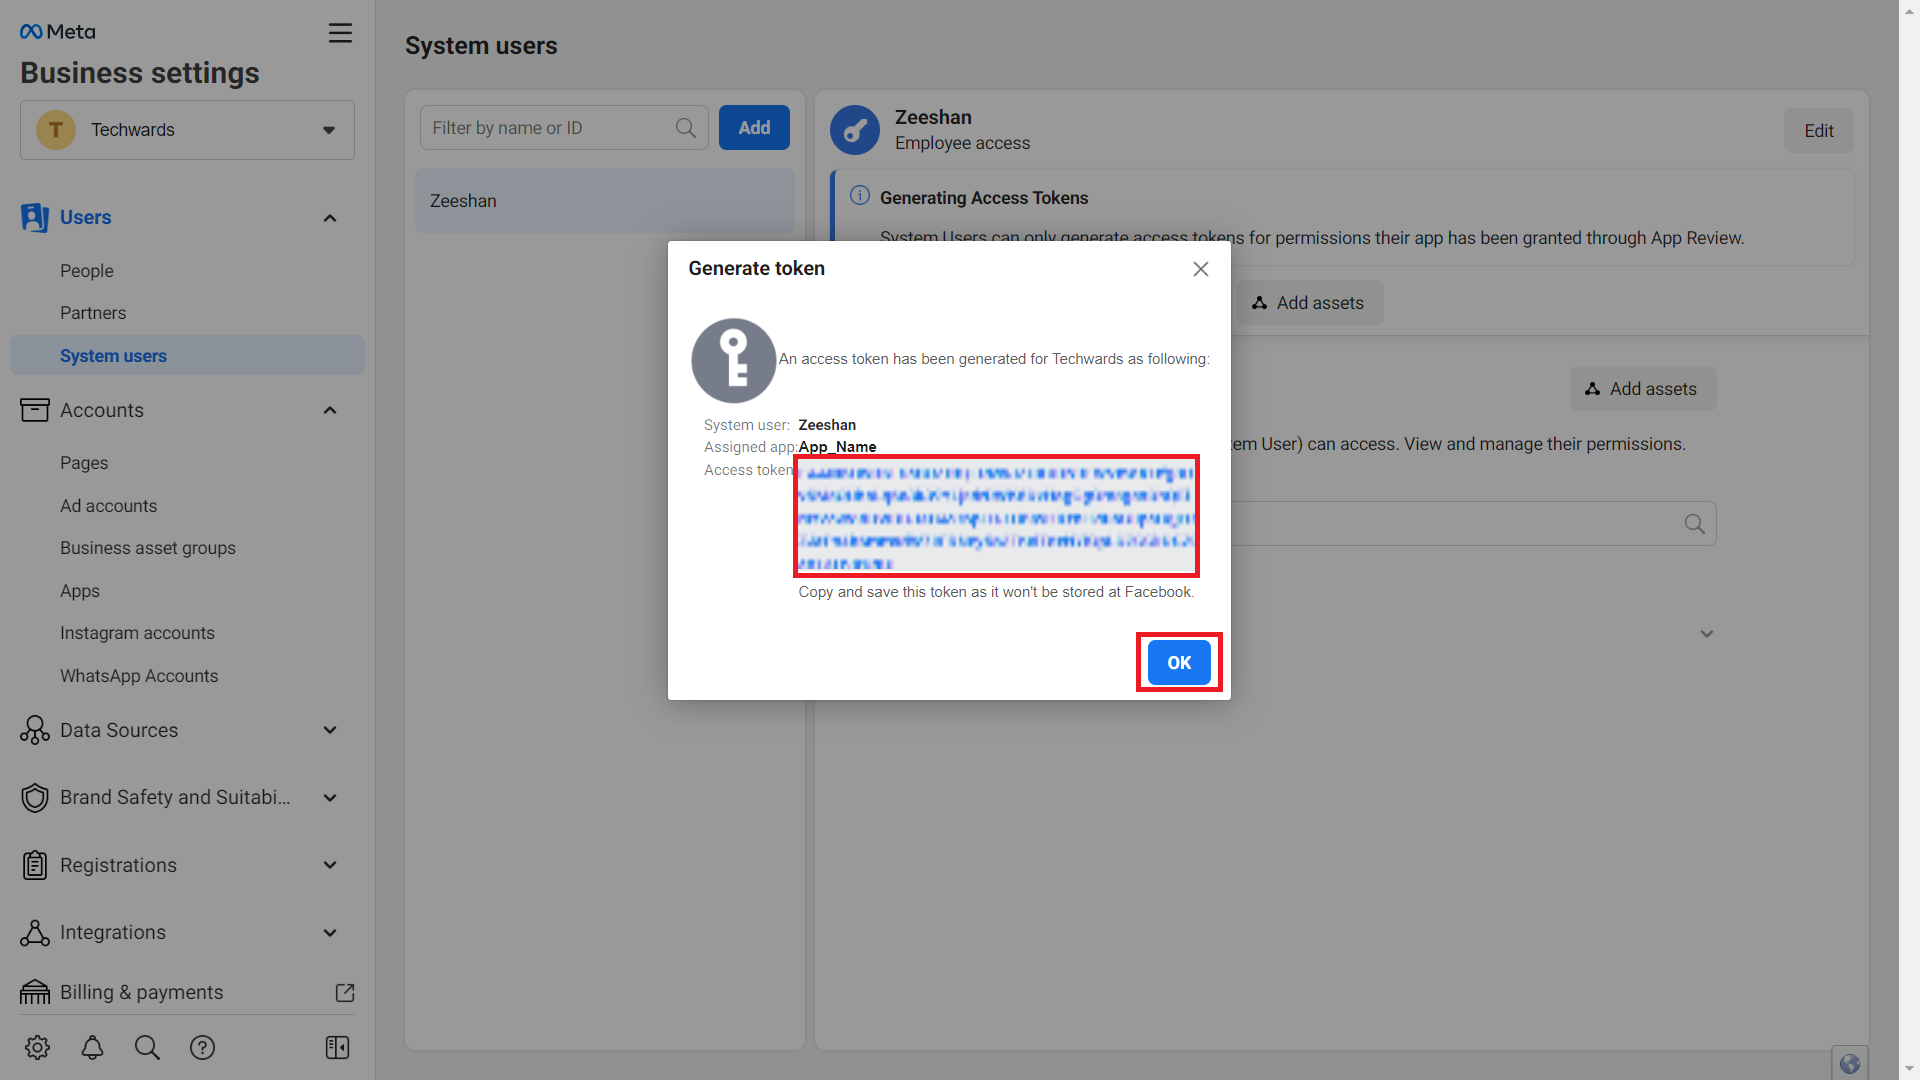
- Copy the access token and save it securely.
-
-
Step 7: Integrate a New Business Number with WhatsApp
- Go to your meta developer account https://developers.facebook.com/ you have the option to either include your own business number or utilise the provided test number for your WhatsApp chatbot.
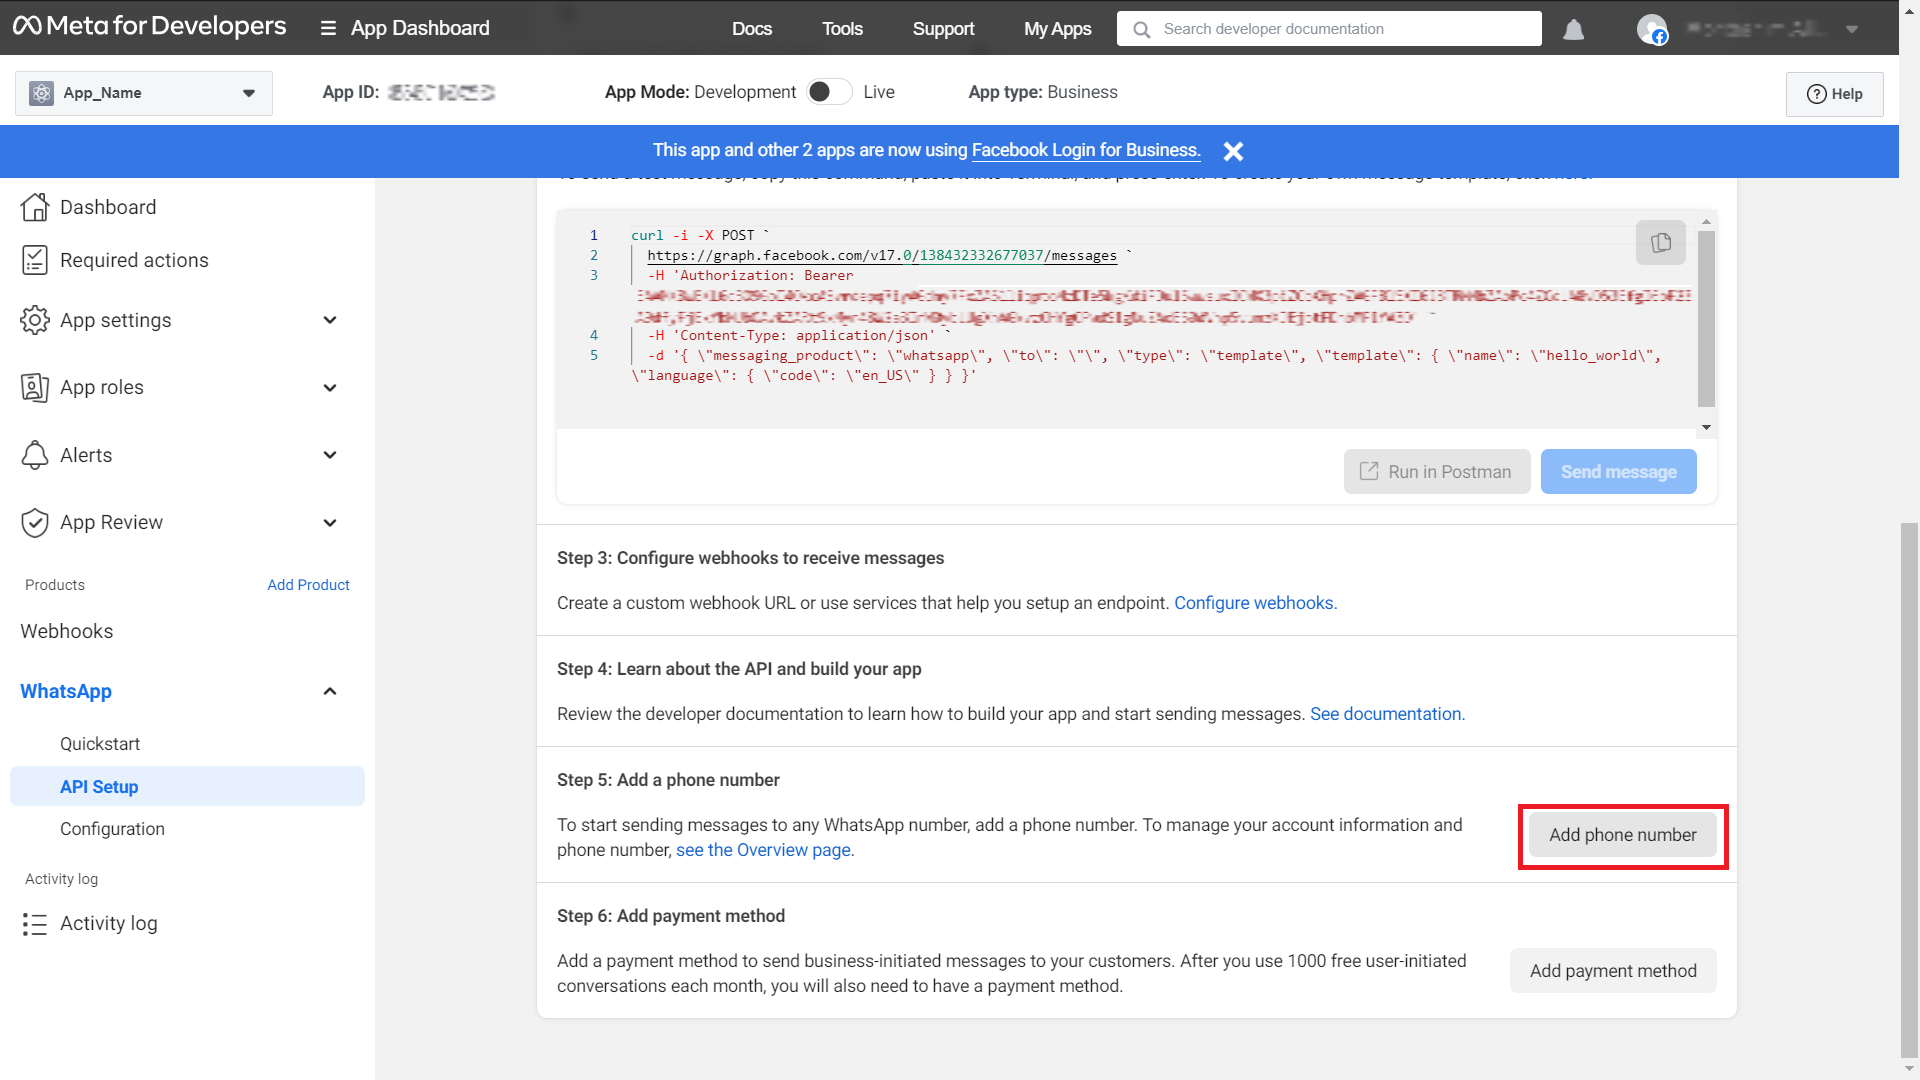
- In the WhatsApp Developer Dashboard, navigate to WhatsApp > API Setup buttons.
-

- In the Add a Phone Number, click Add phone number button.
-
- Enter your WhatsApp Business Profile Display Name, Timezone, Category, and optionally, a Business Description.
- Confirm your number by entering the code you will receive.
- After adding it, choose your phone number in the API Setup.
-

-
Step 8: Add a Payment Method
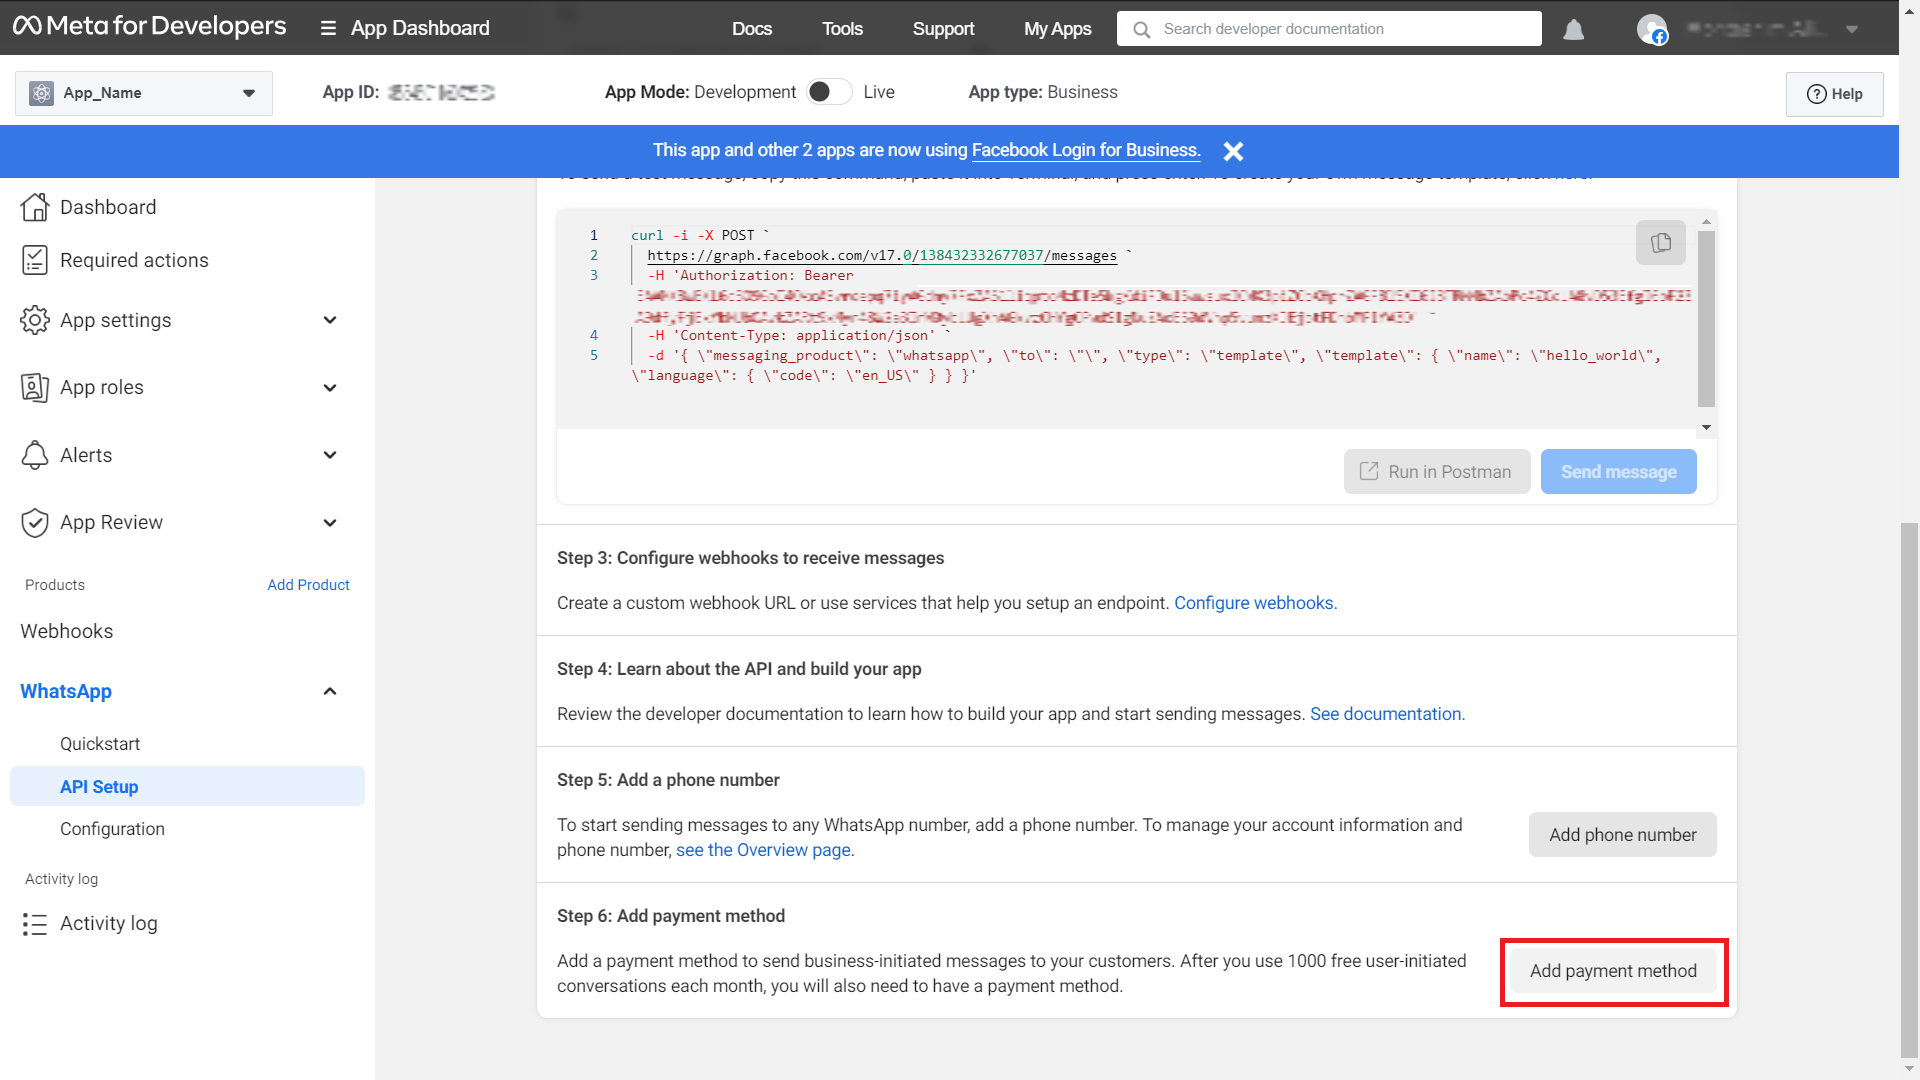
- In order to send WhatsApp messages, you must have a valid payment method. For more information, please visit https://developers.facebook.com/docs/whatsapp/pricing
- After including your business phone number, Scroll down select Add payment method button to resolve the Missing valid payment method alert.
-
- Access your WhatsApp account settings, then proceed to Payment Settings > Add payment method. Follow the provided instructions to input your card information.
-
Step 9: Verify the functionality of your newly integrated WhatsApp Business Number.
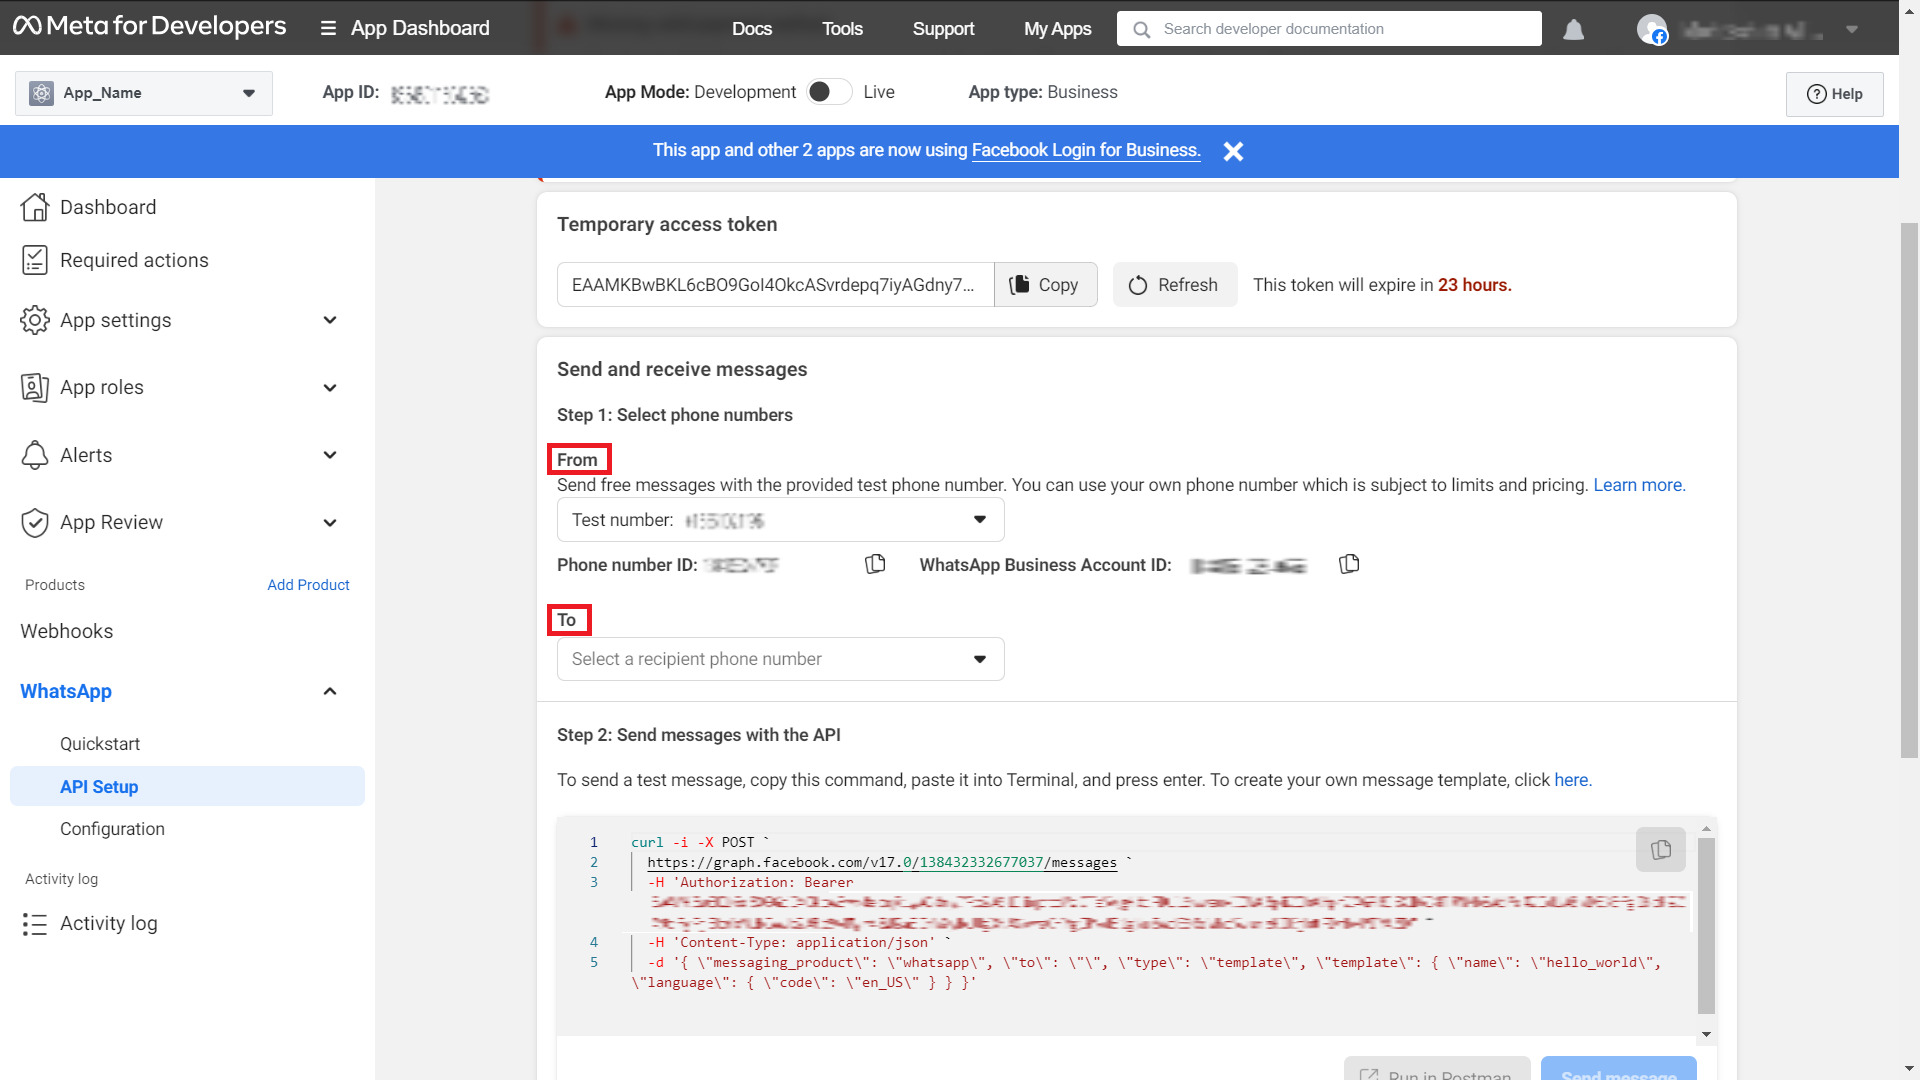
- Within the WhatsApp Developer Dashboard, go to API Setup
- Select From Test number and a to number.
- Click send to verify successful message delivery.
-
-
Step 10: Integrate whatsapp with chatwards.
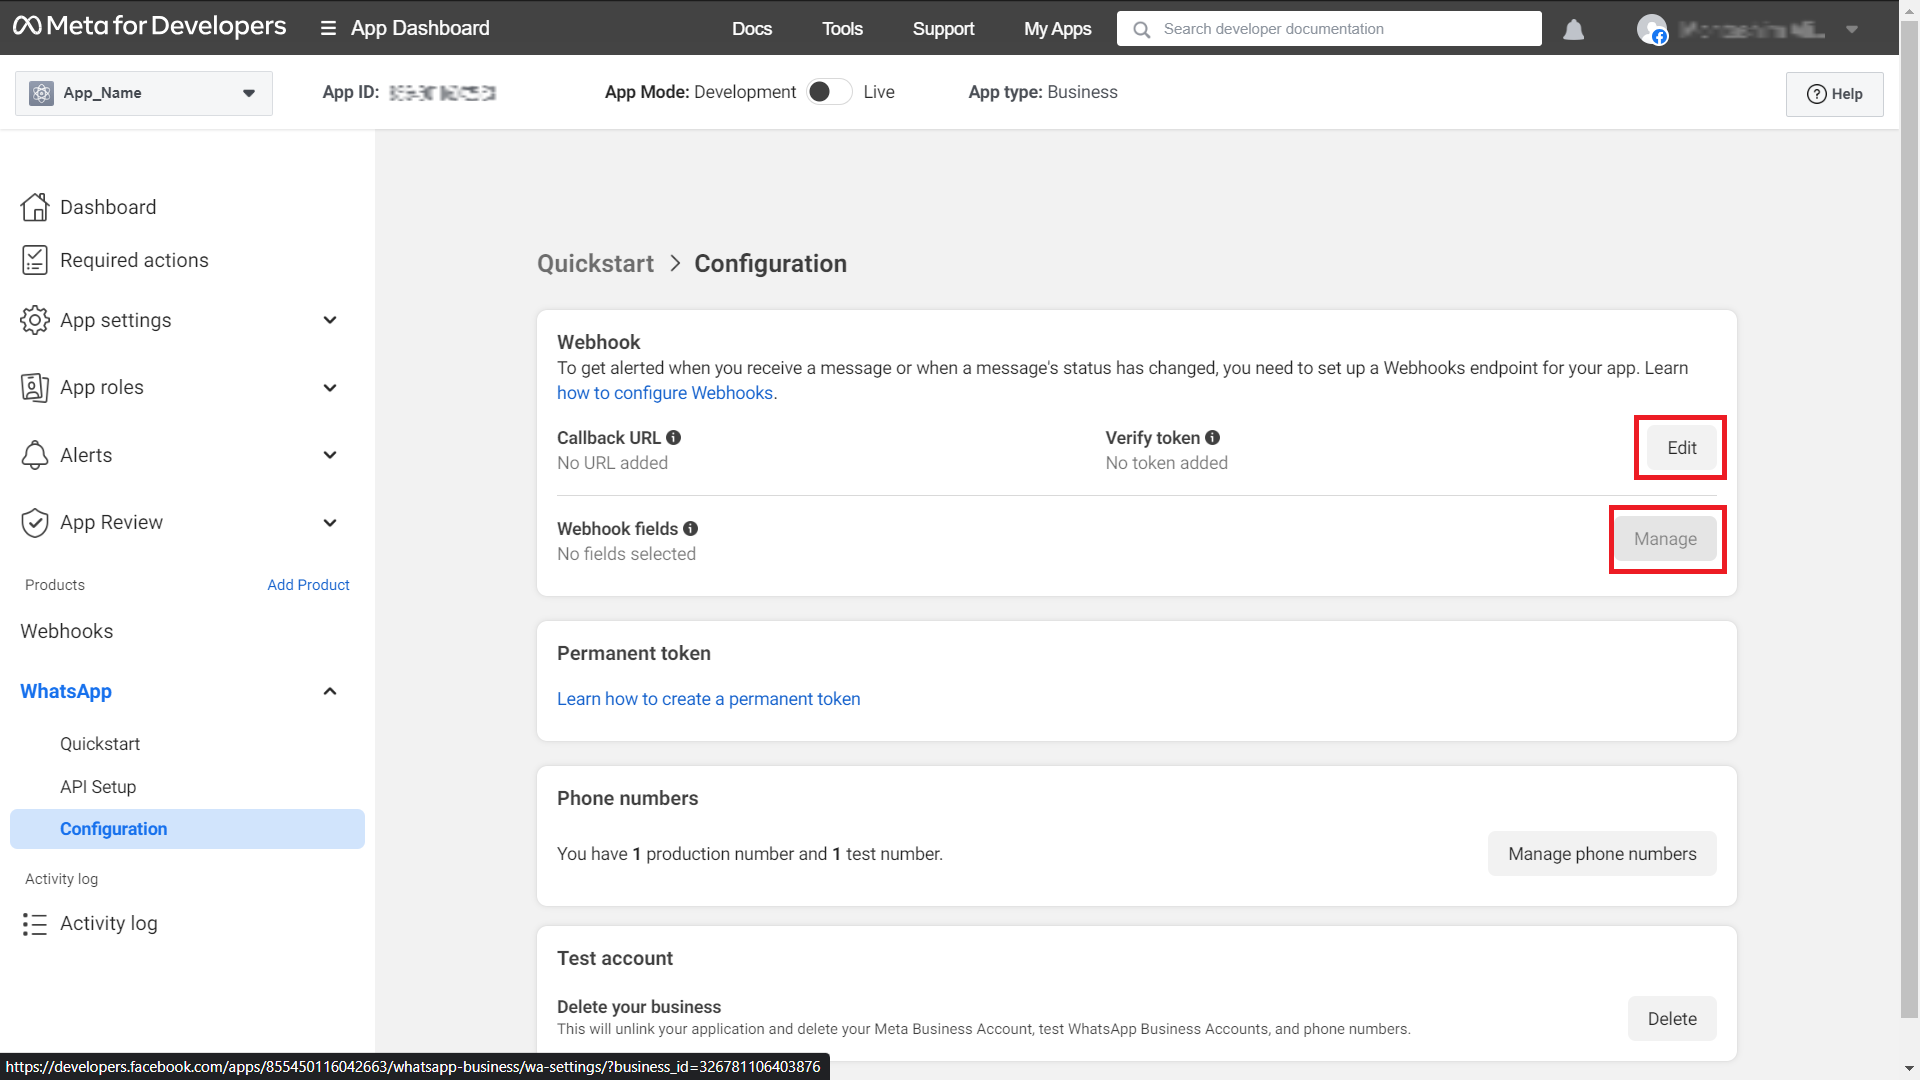
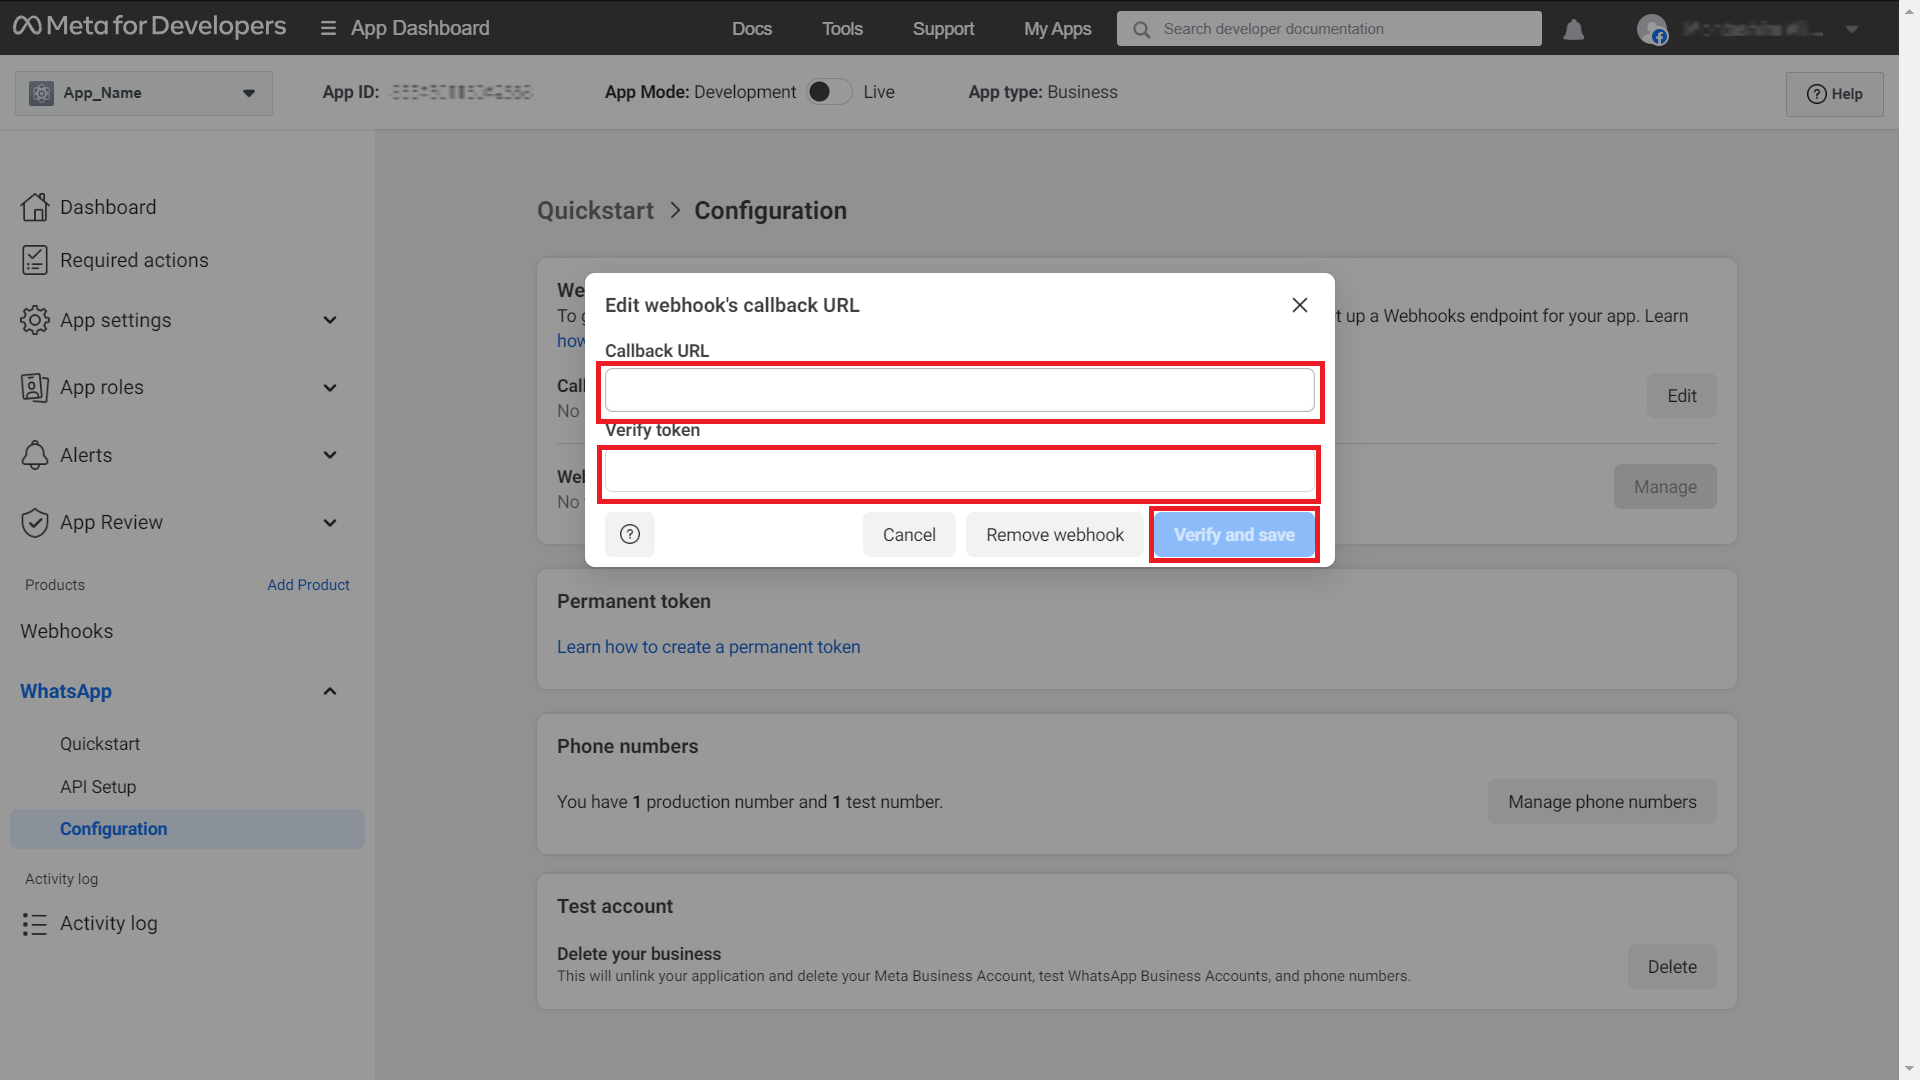
- Access the Configuration section within the WhatsApp Developer Dashboard.
- Within the Webhook section, edit.
-
- Paste your Callback URL and Verification Token previously saved in step 2.
- Click Verify and Save to save the webhook.
-
-
Step 11: Set up the Webhook Subscription Field.
- In the Webhook Fields, select Manage, and select all the available options.
-

-
Step 12: Integrate your WhatsApp Account with your Chatwards Chatbot.
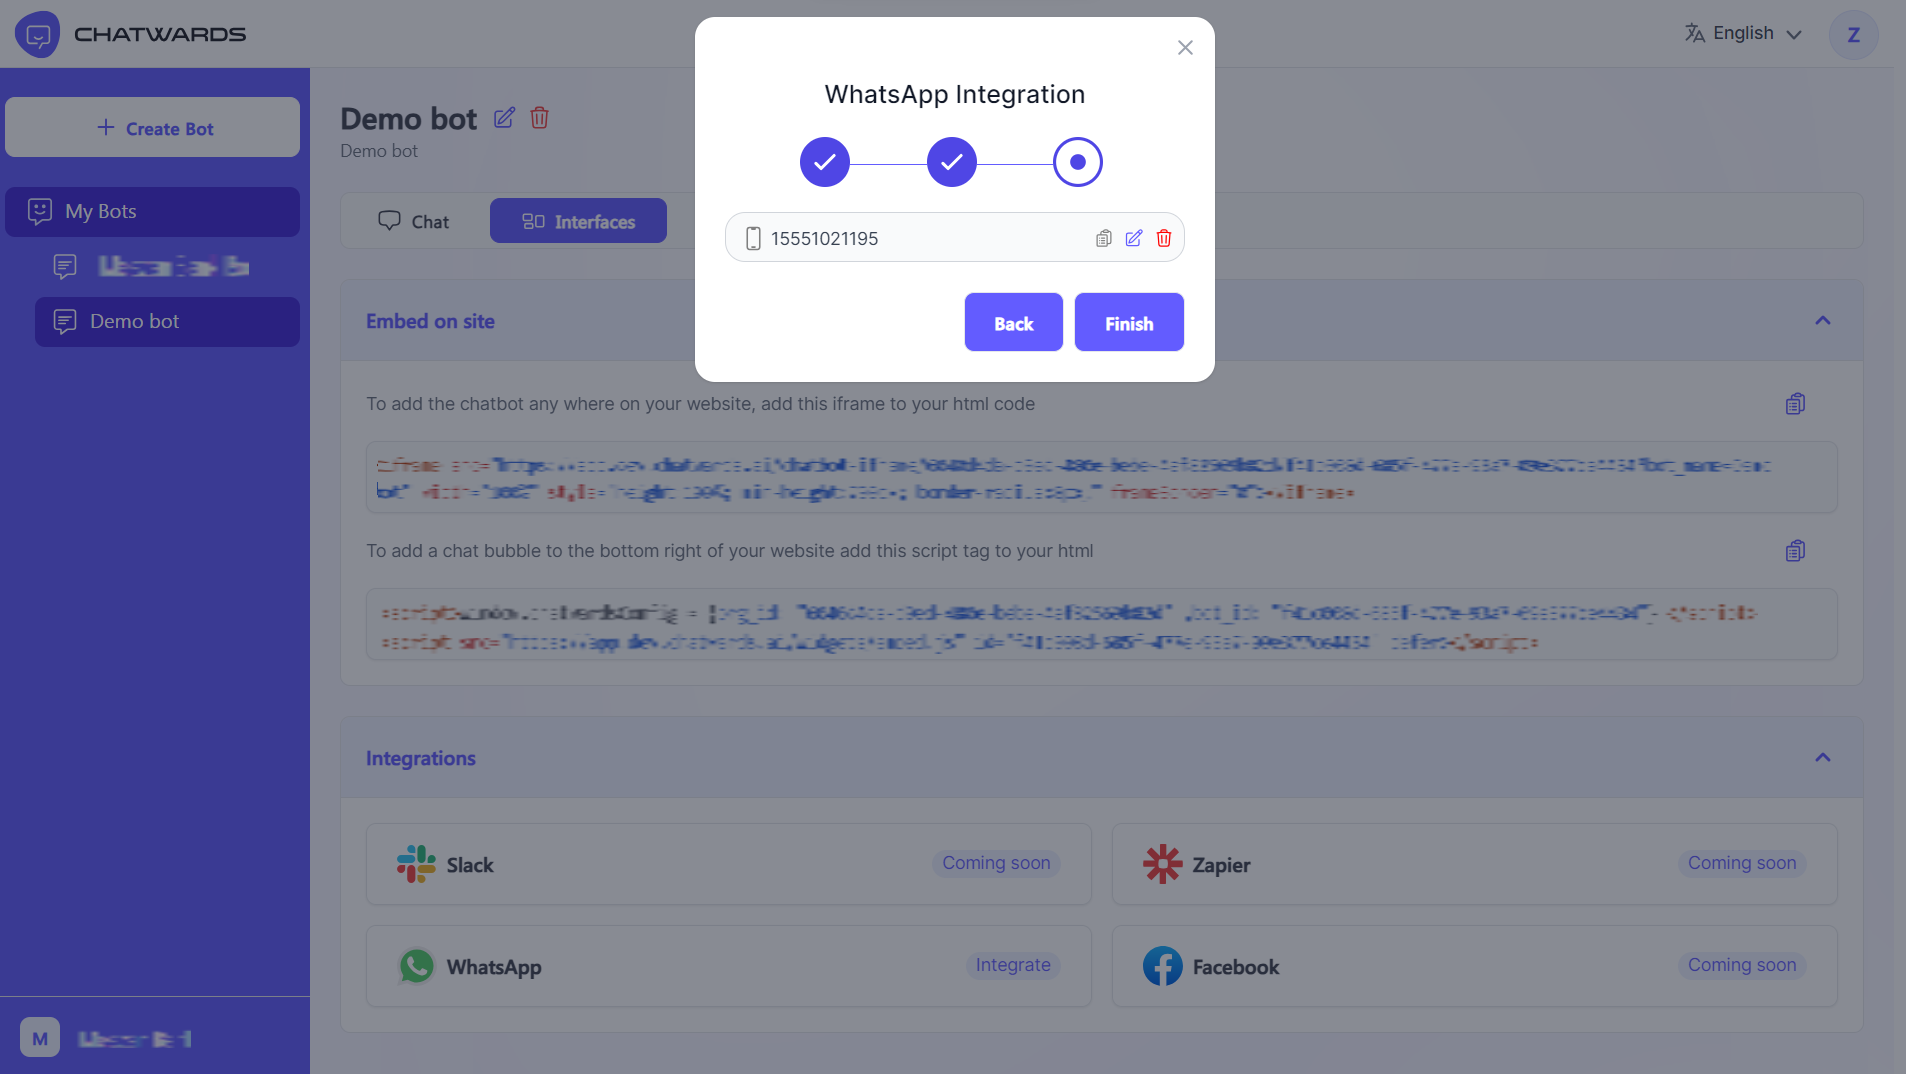
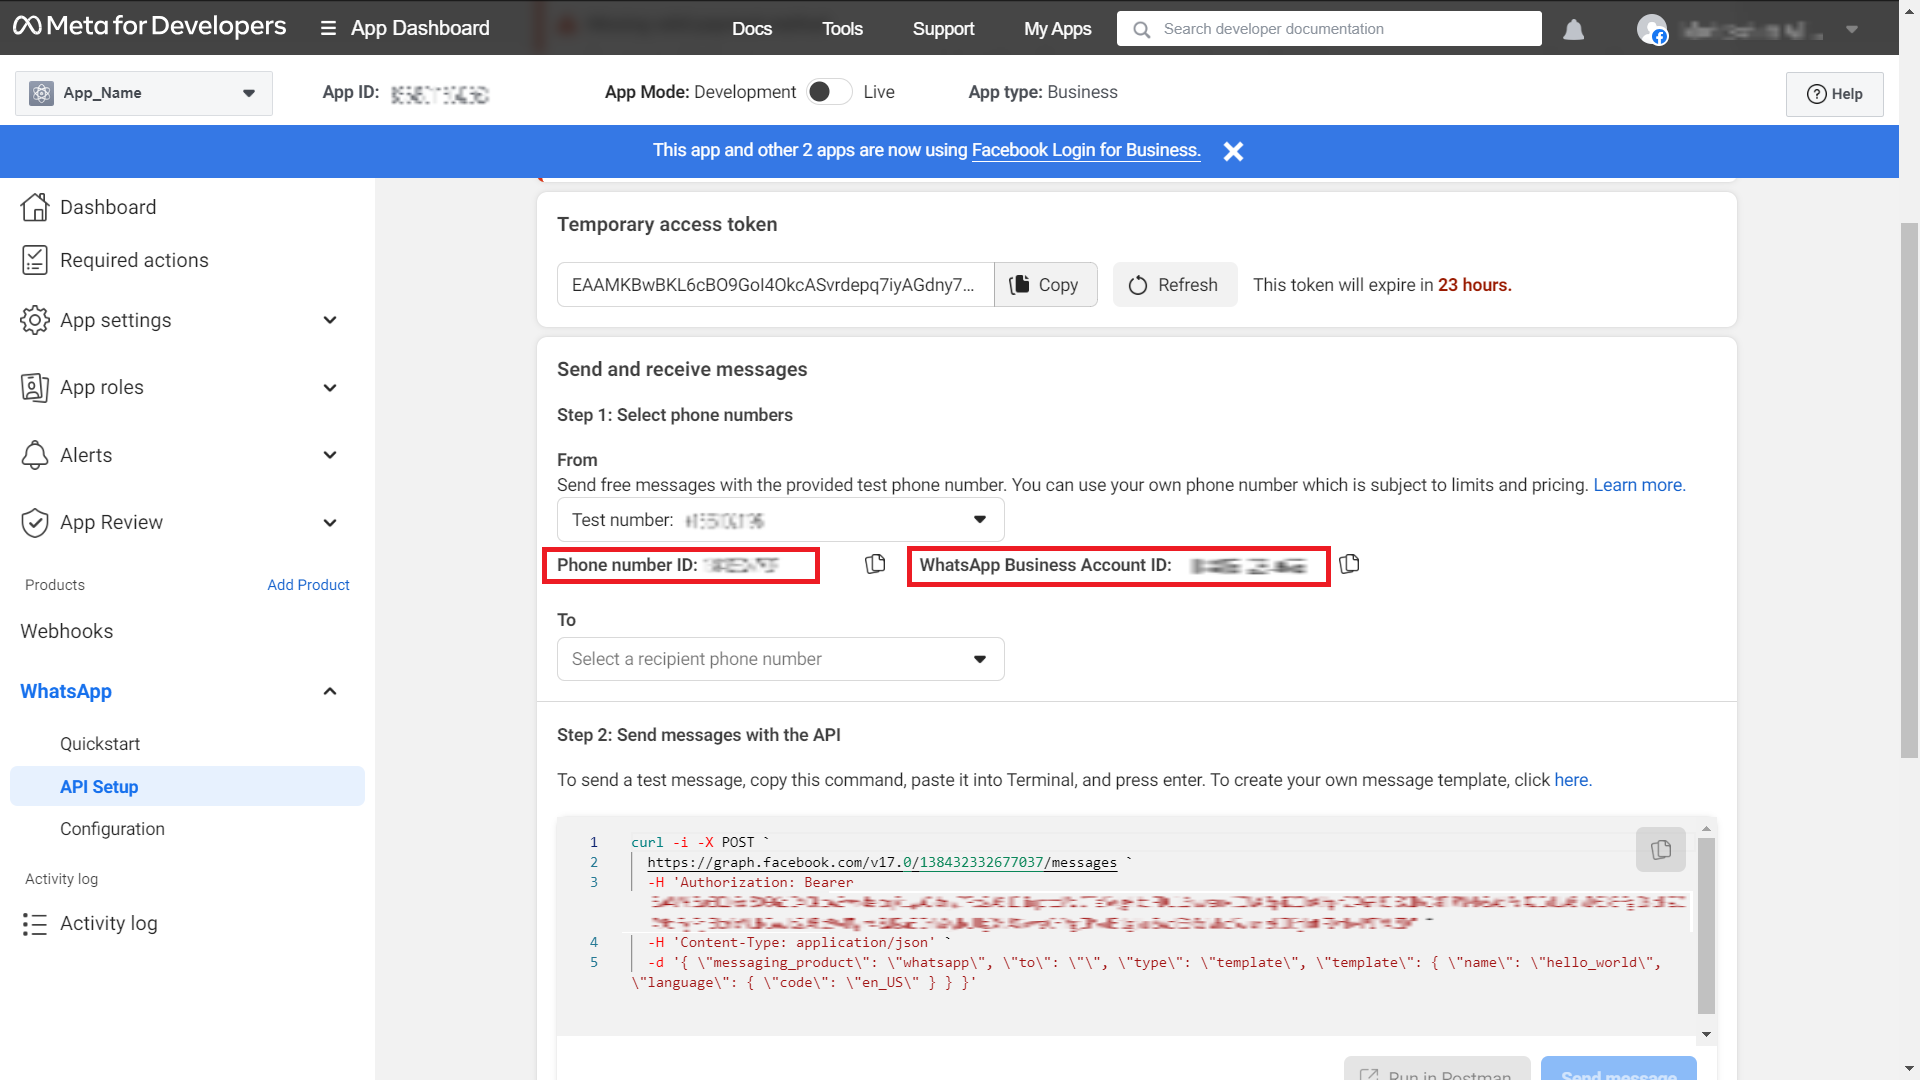
- Click next button after copy wehbook URL previously explain in step 2.
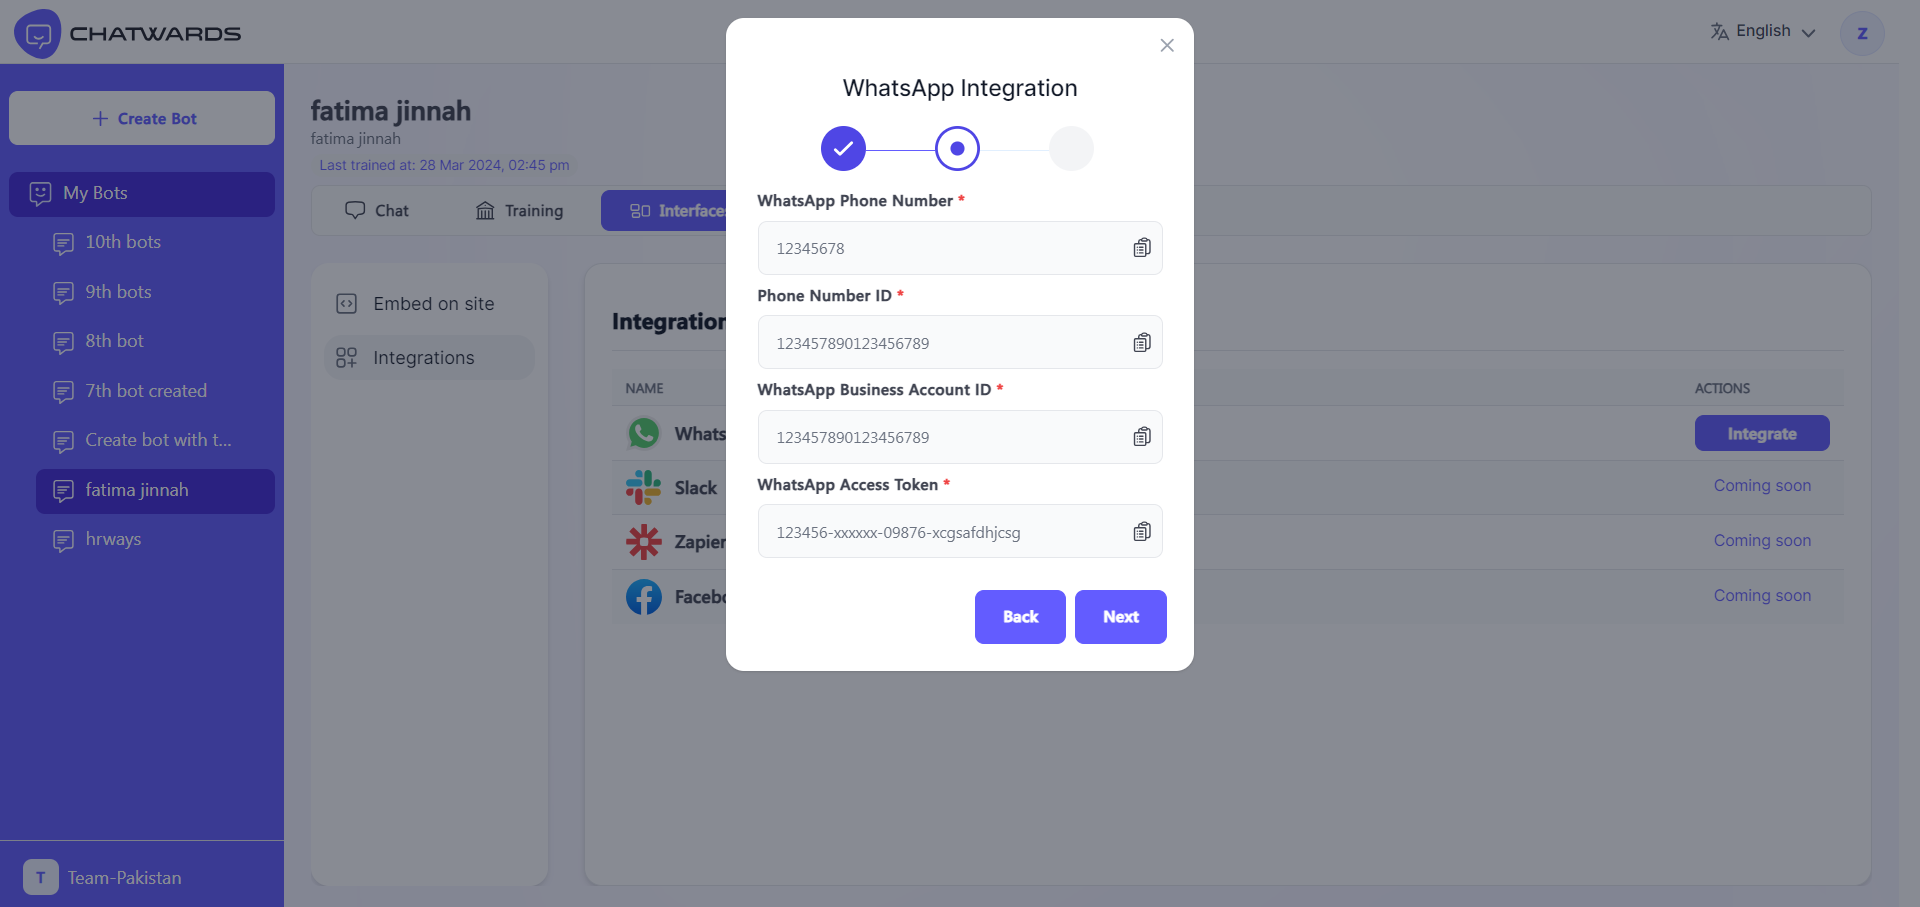
- Copy your WhatsApp Phone Number entered in step 7, Phone Number ID, and WhatsApp Business Account ID into the Chatwards WhatsApp Integration Page
-
- Paste the previously saved permanent access token generated in Step 6.4.
-
- Click next button and click Finish button.
-
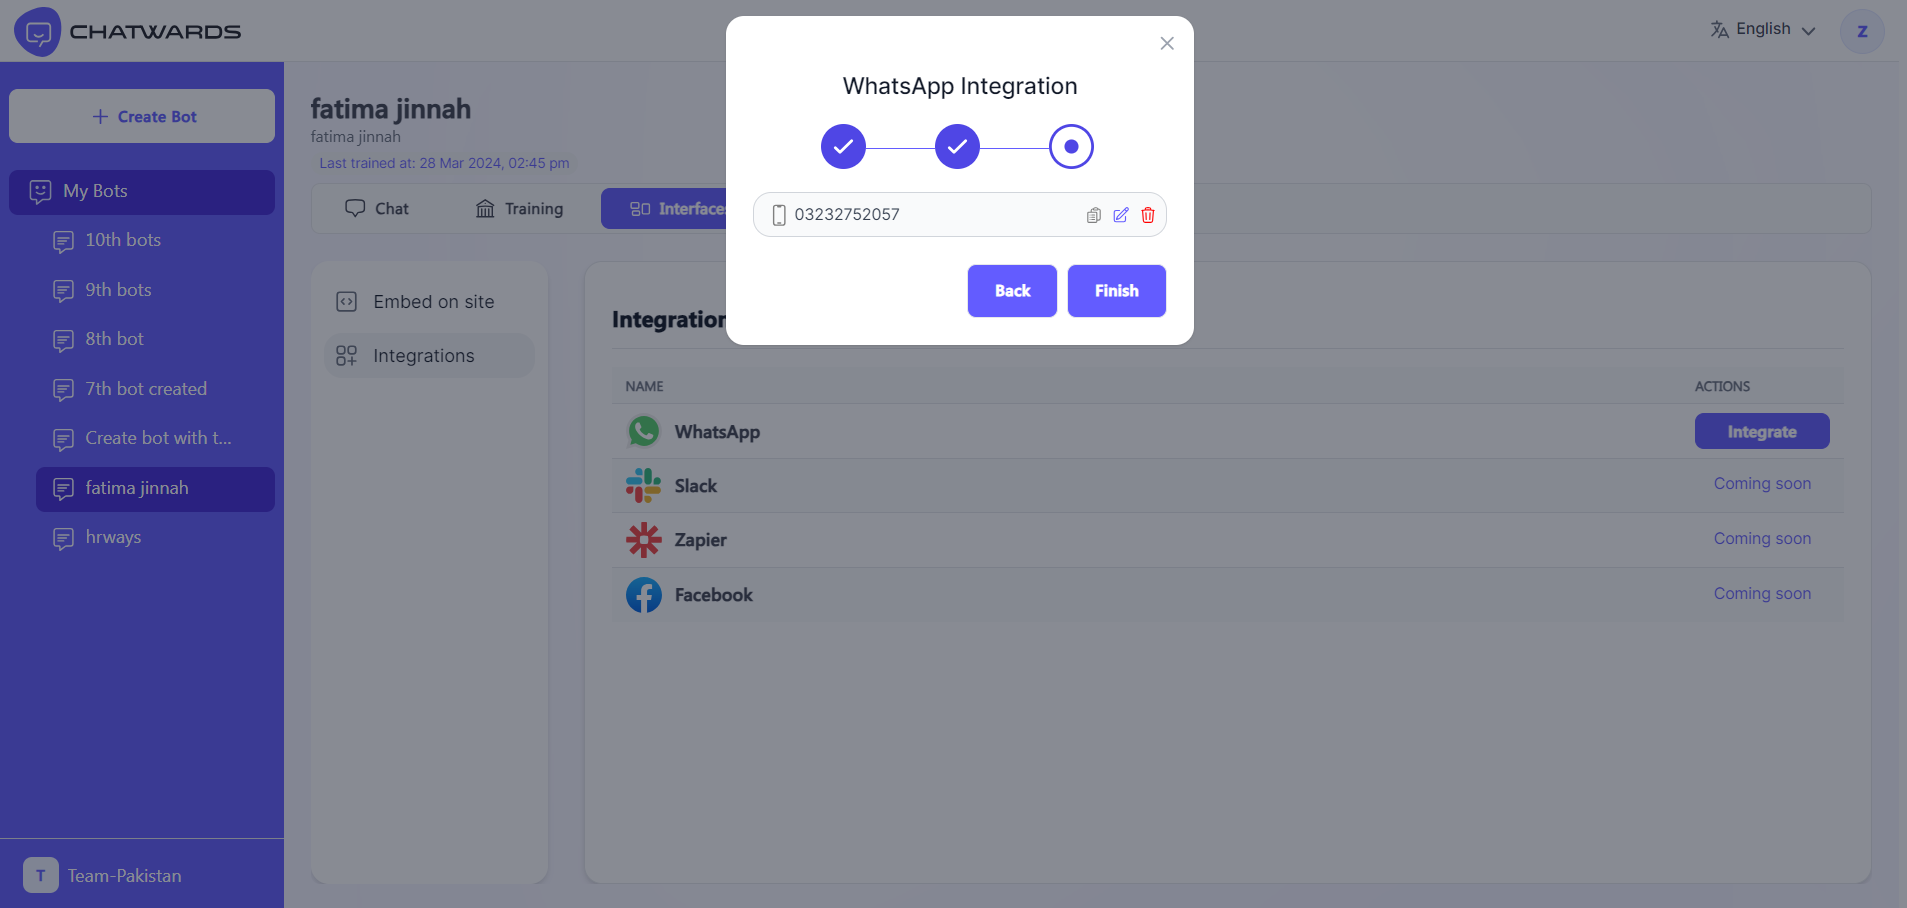
- Your whatsapp integraton is completed.
-